Essential Self-Portrait Photography Equipment for Stunning Results
What does it take to take great photos of yourself? All you need is creativity, dedication, and… the right self-portrait photography equipment, of course!
Confession: I am not the most technical photographer and probably don’t know half of my camera’s functions. BUT I love the gear that I have and it serves my purpose as a self-portrait photographer perfectly, so I am happy to share it with you.
This self-portrait photography gear list will serve you well if:
- you want to take artistic self-portraits
- you can’t wait to take incredible travel photos of yourself
- you need professional photos of yourself for your business
- you are shy to photograph others and want to practice portraiture first
- you are ready to express yourself creatively in front of the camera
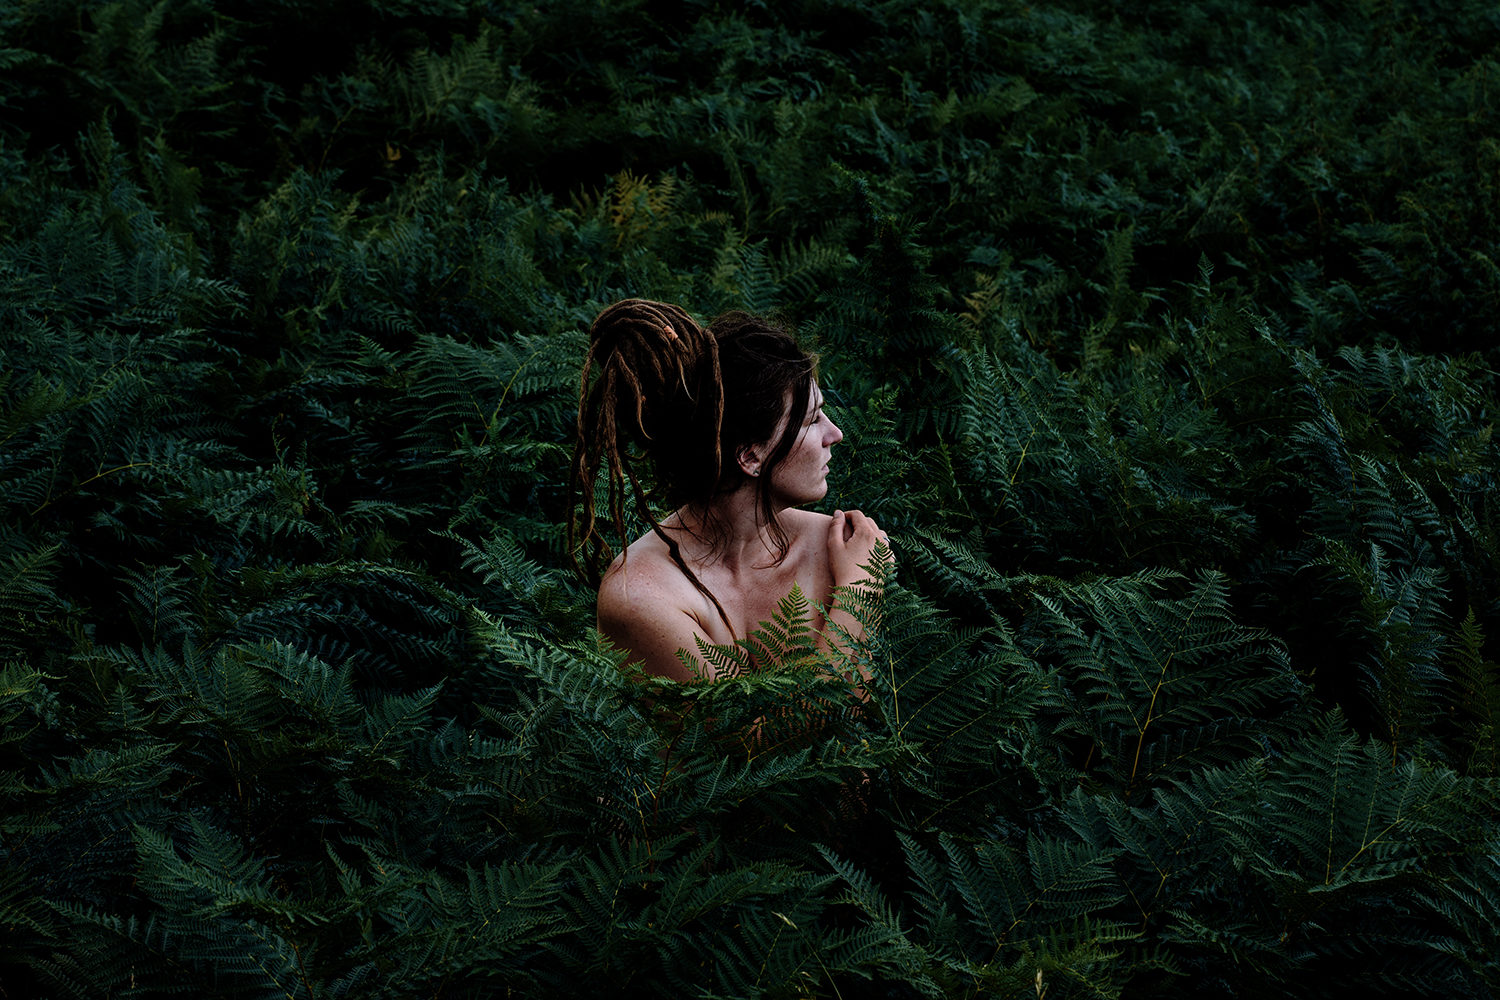
I’m a strong believer that you don’t need (and shouldn’t have) to be rich to create art, so don’t get too hung up on the right gear choices. Start with your smartphone if that’s all you have. Start with whatever is in your budget, but explore with passion and curiosity. Everything else will come from that.
Below, I’ll show you the self-portrait photography equipment I personally love and trust, my software and hardware for editing as well as suitable camera gear for beginners.
Disclaimer: Some links on this page may be affiliate links. If you purchase something through these links, I may earn a commission (that helps me keep my small art business going) but you pay the same. Win-win! Thank you for your support.
Checklist: Essential Self-Portrait Photography Equipment
When starting self-portrait photography, you might be wondering which gear you really need. Ring lights? Flashes? No worries, it’s not that complicated.
There are a few essential items I would absolutely recommend you to own, whereas others are optional.
Must-have self-portrait photography gear
Nice-to-have equipment
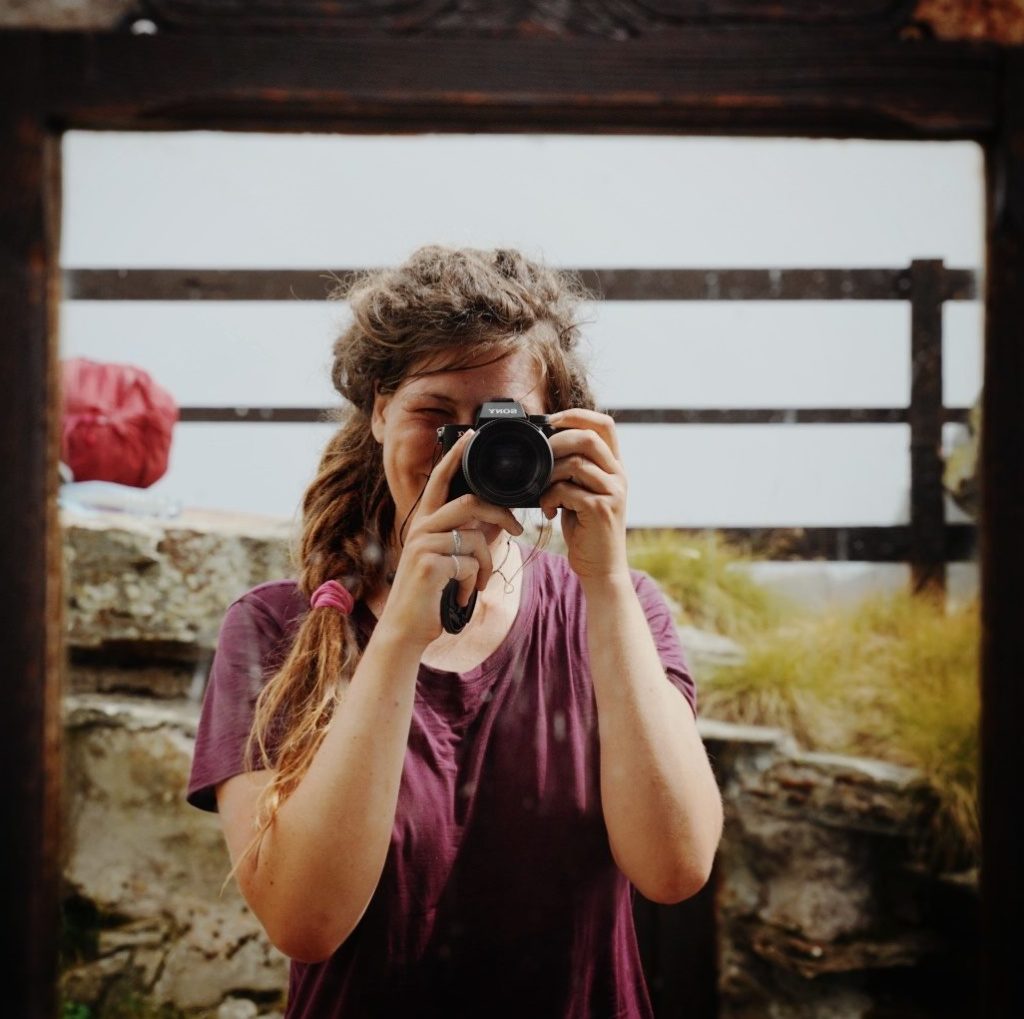
My Professional Self-Portrait Photography Equipment – Tried, Tested, Trusted
It took me a few years to gather the perfect self-portrait photography equipment. I’ve been using the setup you’re about to see for several years now and I couldn’t be happier with it!
My camera for self-portraits: Sony α7 III
After starting my photographic journey with Canon gear, I had wanted to upgrade to a full-frame camera for a long time. At the time I did finally buy it, I was only getting back into photography after a long break and about to start traveling full-time. I knew I’d be sad starting a once-in-a-lifetime adventure like this without being able to take the photos I dreamt of taking, so I went for it. And I’ve never looked back.
The Sony Alpha 7 III is a dream of a camera. The details and resolution of the photos are incredible and the depth of the portraits I take with it is in no way comparable to what my previous camera could do.
It allows me to create detailed artworks that can be printed in large sizes, capturing day and night scenes equally beautifully. As a traveling photographer, I appreciate that it’s a mirrorless camera, resulting in a lighter overall weight than a traditional DSLR full-frame camera.
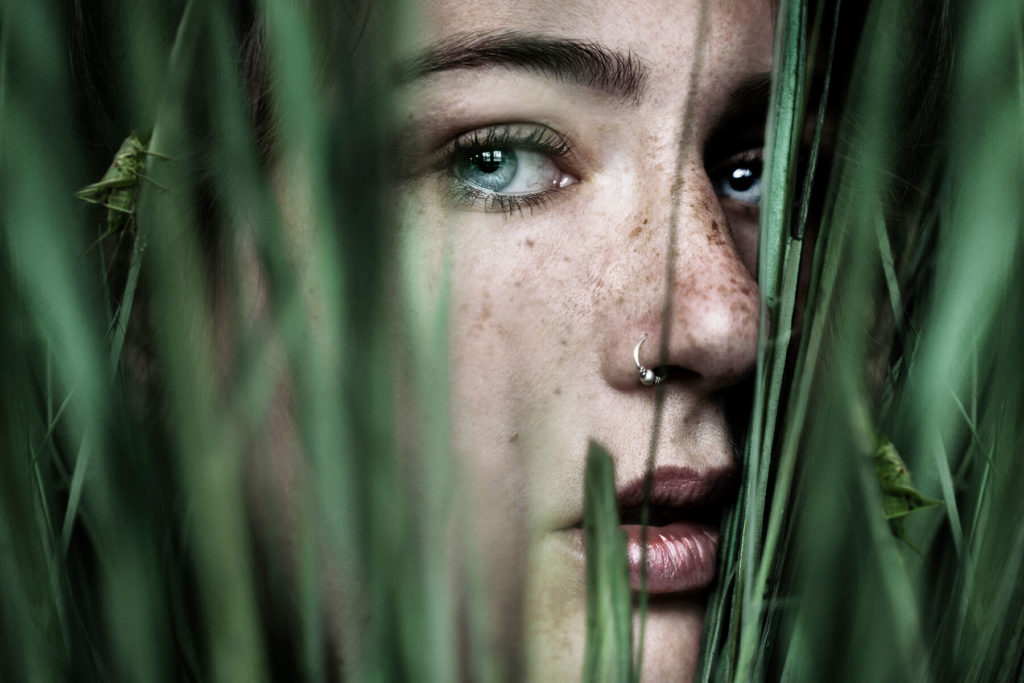
What I love about it:
- built-in interval timer
- 2 SD card slots
- ability to connect to your phone to use it as remote control and live preview (no need to buy an additional remote control)
- eye-tracking technology helps to focus on the eye
- relatively lightweight compared to DSLR full-frame cameras
What I don’t love about it:
- the only downside I see is the hefty price – for more budge-friendly camera choices, keep reading
- for that price, I would have loved it if the camera was waterproof (not just water-resistant)
Bring a sense of wonder into your home
I know you came here to read about camera equipment but I just wanted to (quickly and very proudly) announce that my first Fine Art Collection is now available!
My most used lens for self-portraits: Tamron 28-75 mm F/2.8
This zoom lens is compatible with the Sony E-Mount and honestly one of the reasons why I switched to Sony. The Canon equivalent costs a fortune! The lens is incredibly versatile and covers most of the range of angles I shoot, whether portrait work or landscape photography. A maximum aperture of F/2.8 is pretty great for a zoom lens. It creates beautiful, soft bokeh and allows you to take sharp photos even in low-light situations.
My favorite portrait lens: Sony SEL-85F18
I rarely use it for self-portraits, but if I am taking close-up portraits of other people, this is my absolute go-to. The precision of focus and depth of the portraits taken with it is to die for. There’s really nothing to add, it’s magical. During my travels, I love taking portraits of the beautiful travelers I meet and gifting them a smile by sending them photographic travel memories afterward.
My tripod for self-portraits: Manfrotto BeFree Advanced (Carbon)
Since most of my work consists of self-portraits, a tripod is an absolute must. This allows me to get the right camera angle by myself without having to ask anyone to hold the camera for me or placing the camera in not-so-ideal angles onto tree stumps etc. (Definitely have done that a lot, too.)
After breaking way too many cheap tripods, I finally invested in a better tripod again. Since I hike a lot, I loved how lightweight the plastic ones are but they are definitely not made to carry professional, heavier cameras. Honestly, without camera insurance, I never would have trusted those things.
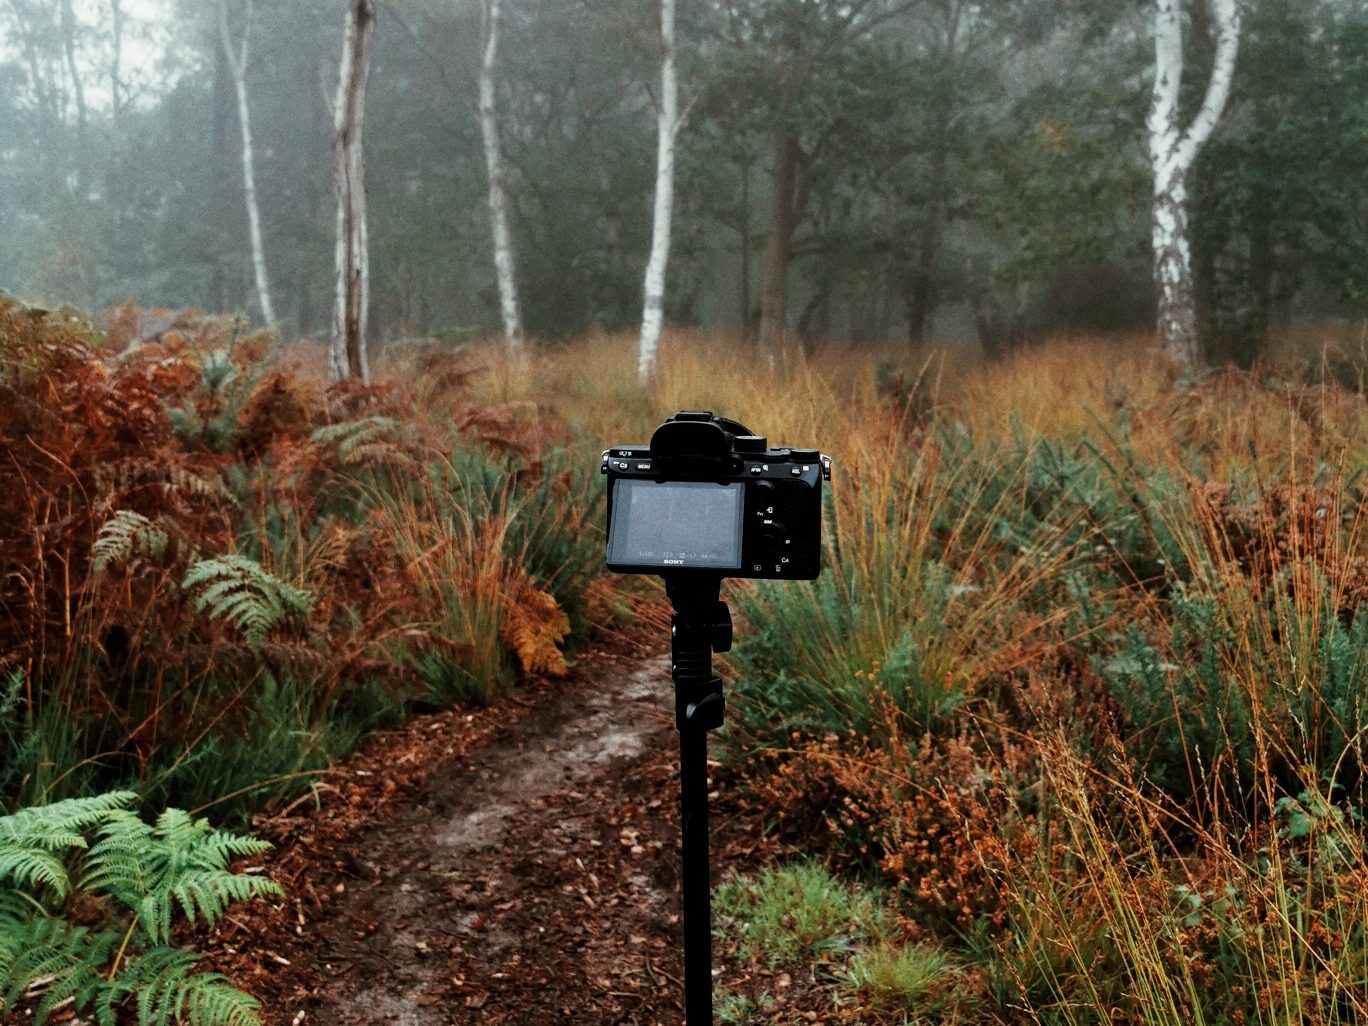
Recommendation: Don’t be like me, buy a high-quality tripod right away before you end up spending double the money on replacing broken gear.
So now I bought a Manfrotto tripod, a brand I can wholeheartedly recommend. I already owned one of their models in the past, only this time I opted for a more lightweight carbon build. My camera always feels super stable on it and the adjustment options are fantastic. What a relief after so many bad-tripod years.
What to look for in a good tripod:
- stability (make sure it is built to carry the weight of your camera + lens)
- carbon vs. metal: if weight matters, go for carbon
- a ball head is easier to adjust than levers (also, levers break more easily)
- a quick-release plate saves time setting up
Do I still need a remote control for self-portraits?
The advancements of technology, oh my. I remember having a complicated, three-piece remote for my first camera and early self-portrait experiments.
Nowadays, I simply use my phone. Through the Sony Imaging App, I can remote-control my camera and, here’s the best part, even myself in live view as I stand in front of the camera.
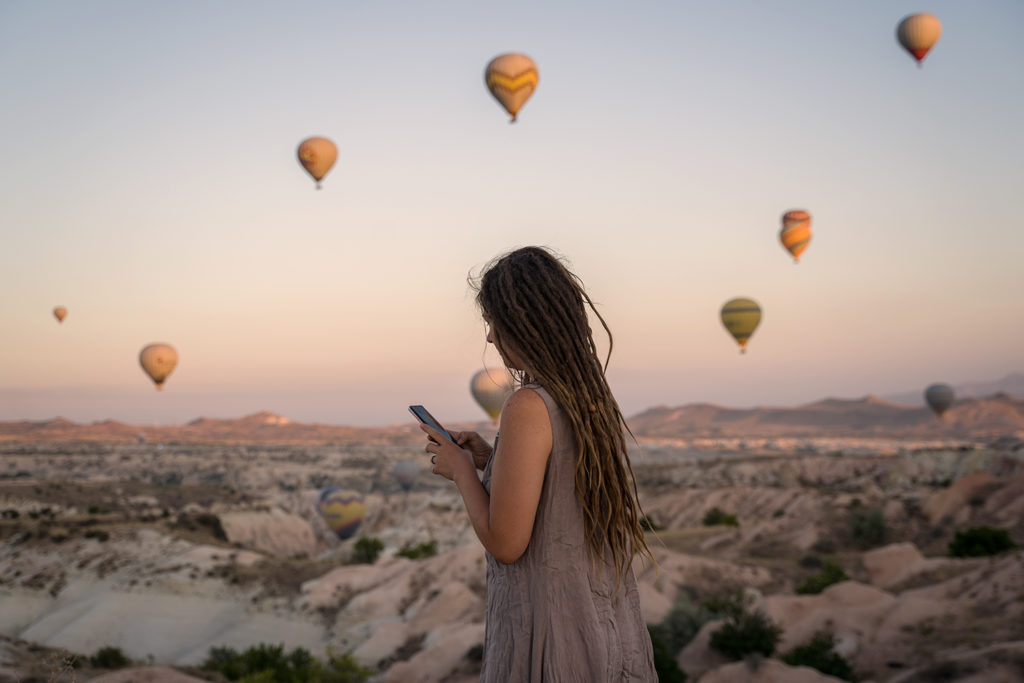
It really has been such a game-changer to see right away if I am in focus, how the pose looks, etc. without having to run back and forth a million times until I get it right.
If your camera setup does not have this feature (or if you’re one of the rare people without a smartphone), I’ll show you wireless remote control options right after the next section.
What I use for editing my self-portraits
Editing software: Adobe Photoshop
After playing around with horrible, free online editing tools 10 years ago, I started using Photoshop pretty early on. By now, free editing apps have gotten a lot better but nothing beats a powerful program like Adobe Photoshop.
It takes a while to get used to it and to figure out how to achieve the look you are imagining, but once you get it, the possibilities are endless. Photoshop is my digital fantasy playground, allowing me to make my dreams come to life.
To this day, I keep learning about what I can do with it. There are countless tutorials out there helping you to learn using the software and it’s the industry standard for a reason.
For most people, Adobe Lightroom works really well, too (you can also get the two applications in a bundle). It has its advantages, especially for batch editing. If you want to edit many photos in the same style, Lightroom is a great choice.
Why I use Photoshop instead of Lightroom:
- it’s simply the program I learned to use first
- works better for complex edits with many layers
- I also use Photoshop to illustrate
Bonus tip: Always shoot in RAW, so you can get the most out of your photos while editing.
My lightweight travel laptop: Dell XPS 13
Again with traveling in mind, I wanted a lightweight, modern laptop that could quickly handle all the editing work I do and display colors accurately. Having a bigger screen would be nice sometimes, but the 13-inch screen always worked fine for me and comes with greater portability.
The only thing I would do differently today is to choose more storage space – I only went for the 256 GB SSD and having large files on it, I do have to transfer files to my external hard drives a bit too often.
External hard drives
Even though I’ve been trying to take on a more minimalistic approach to file storage, I still have huge amounts of photographic memories and PSD files I don’t (yet) want to let go of. And the better your camera, the bigger your RAW files will be, that’s the downside.
So having some external hard drives is essential. I always have two hard drives with the exact same data on them.
One serves as a backup, as mentioned above I have to keep deleting files from my laptop due to space issues. Always do your backups, people! There really is nothing sadder than losing work you were proud of, fond memories, or even worse, client work that was not even finished yet. Even as a travel photographer, it’s worth carrying a backup with you – alternatively you could backup your photos using a cloud service.
After a Seagate hard drive of mine crashed (💔), I got myself this 2TB Transcend rugged hard drive. It has a shock protection system, so it felt like a safe choice for traveling in a van on bumpy roads. So far, it hasn’t let me down!
My graphic tablet: XP Pen Artist 12 Pro
A graphic tablet is an external monitor on which you can paint with a stylus as if it was on paper. You connect it to your laptop and you can see right on the tablet what you are drawing. The pressure sensitivity makes it feel very natural.
I didn’t have a graphic tablet for years before taking up digital illustration, but it does make editing so much easier when you go beyond simple color editing (e.g. photo manipulations, complicated cut-outs, …).
Imagine doing that with a laptop trackpad. It works, but it’s really inconvenient.
So this is the tablet I now use for drawing and editing my travel and self-portrait photography in combination with Adobe Photoshop.
Budget-friendly self-portrait photography equipment for beginners
This is a collection of beginner photography gear have personally bought in the past or would buy if I were starting today.
When I got into self-portraiture, I was 19. Just like many beginner photographers, I couldn’t afford to spend a fortune and started with reliable, but more affordable equipment.
If you want to get into photography without breaking the bank, these are great options for you.
Great cameras for beginners
If you’re not sure yet if photography is really something you want to invest a lot of money into, I’d suggest trying my camera’s little sister, the Sony Alpha 6000. It’s a widely popular camera for beginners and more affordable while still being able to produce great results.
The camera I started out with was a Canon EOS 60D (which is no longer available), its successor is the Canon EOS 70D. It hits the sweet spot of a great performance at a mid-range price.
The lens every beginner photographer should own
When I started taking photos, I was madly in love with my 50mm portrait lens. On an APS-C sensor, it pretty much equals the results of an 85mm lens on a full-frame camera, like the one I am using now. This focal length is an absolute classic for a reason. The maximum aperture of F/1.8 is brilliant, needless to say.
Luckily, the 50mm is a pretty affordable lens which is also part of the reason why it is so popular. Make sure to buy a lens that fits your camera! A Sony lens won’t work on a Canon camera (unless you use an adaptor).
Additional lens recommendations
A lot of people start out with a kit lens (such as an 18-55mm f/3.5-5.6) which I actually wouldn’t recommend. If you want to shoot self-portraits with a lot of depth, being limited to a large f-stop number won’t make you happy. For great results, get a fixed lens with a large aperture (=small f-stop number, such as 1.8 or 1.4). It helps you to create a beautiful shallow focus effect we all love.
If you already own a portrait lens, it’s good to have a wider focal length in your repertoire as well. A 35mm fixed lens (Sony / Canon) allows you to capture more of your surroundings. Again, F/1.8 is great for low-light situations, sharp focus, and depth in your pictures.
Self-Portrait Equipment Essential: A remote!
Let’s be honest, you won’t be going very far with your self-portraits without some sort of remote control. I am not saying it cannot be done (I totally have), but it’s really not that fun.
As mentioned before, some modern cameras offer the option to use your phone as a remote control. If not, it’s worth spending a few bucks on a remote. They are quite inexpensive but will make your self-portrait photography so much easier!
Another useful tool is an intervalometer. It allows you to take a series of photos, e.g. one photo every 2 seconds for a minute. It’s great for when you want to move freely in front of the camera without having to click the shutter for each shot.
Some cameras, like mine, already have an in-built intervalometer – check if yours has it, too! If not, consider these options:
- Wireless remote for Canon cameras
- Intervalometer for Canon cameras
- 2-in-1 remote and intervalometer for Sony cameras
Tip: When working with a remote control, use the timer mode on your camera so you can take the photos with a 2-, 5- or 10-second delay. It gives you time to hide the remote, so you have your hands free and can settle into your pose.
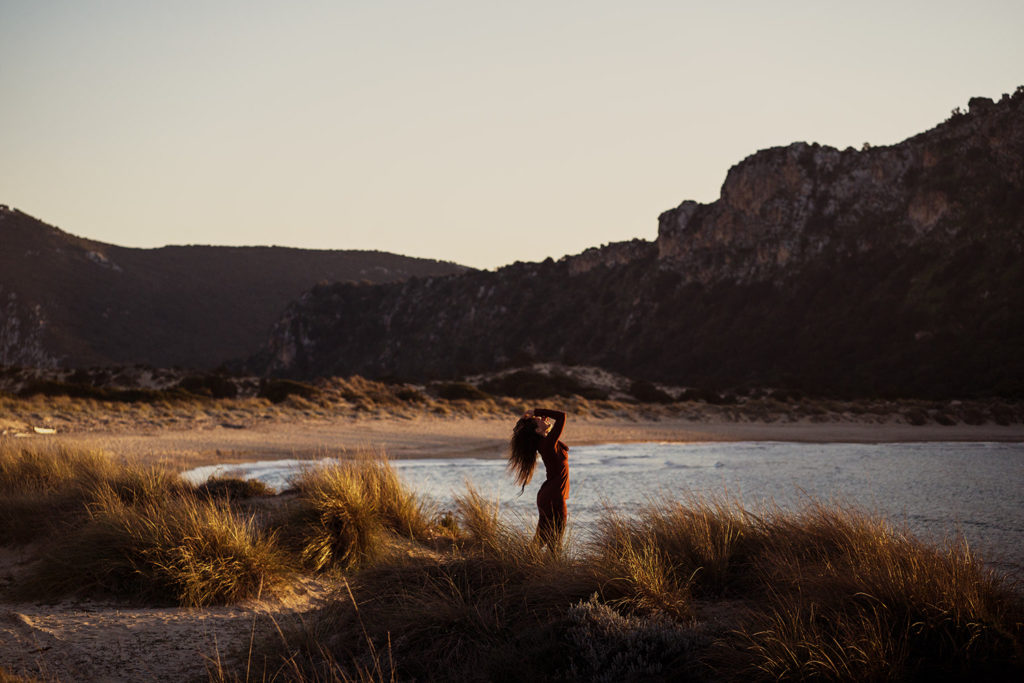
Self-Portrait Photography Gear I wish I had
Of course, the wish for new photography gear kind of never ends. Even though I am very happy with the things I am currently using, but if I could make a wish… or two… it would be for the gear below.
For hiking photography: Peak Design Capture Camera mount V3
This camera clip allows you to attach your camera to your backpack’s shoulder strap while hiking – safely secured and easily accessible at any time. At the moment, I still carry around my camera in a budget, made-up fanny pack solution that’s often in the way when hiking uphill, so this could be really useful for capturing my outdoor adventures with a bit more ease.
For night and landscape photography: Sigma 402965 16 mm F1.4
If there’s something I’m missing in my current set-up, it’s a little bit of a wider angle. I’d love to be able to capture night skies more often, and a 16mm F/1.4 would be a dream for that. Even during the daytime, I’d sometimes appreciate being able to get more of my surroundings into the frame (without having to stitch photos together), so this lens, compatible with the Sony E-Mount, could be great.
I hope this was useful for you! If you have any questions, let me know in the comments.
For more self-portrait photography inspiration (and the occasional adventure tale), feel free to subscribe to my (infrequent, but usually worth-the-read) newsletter.

