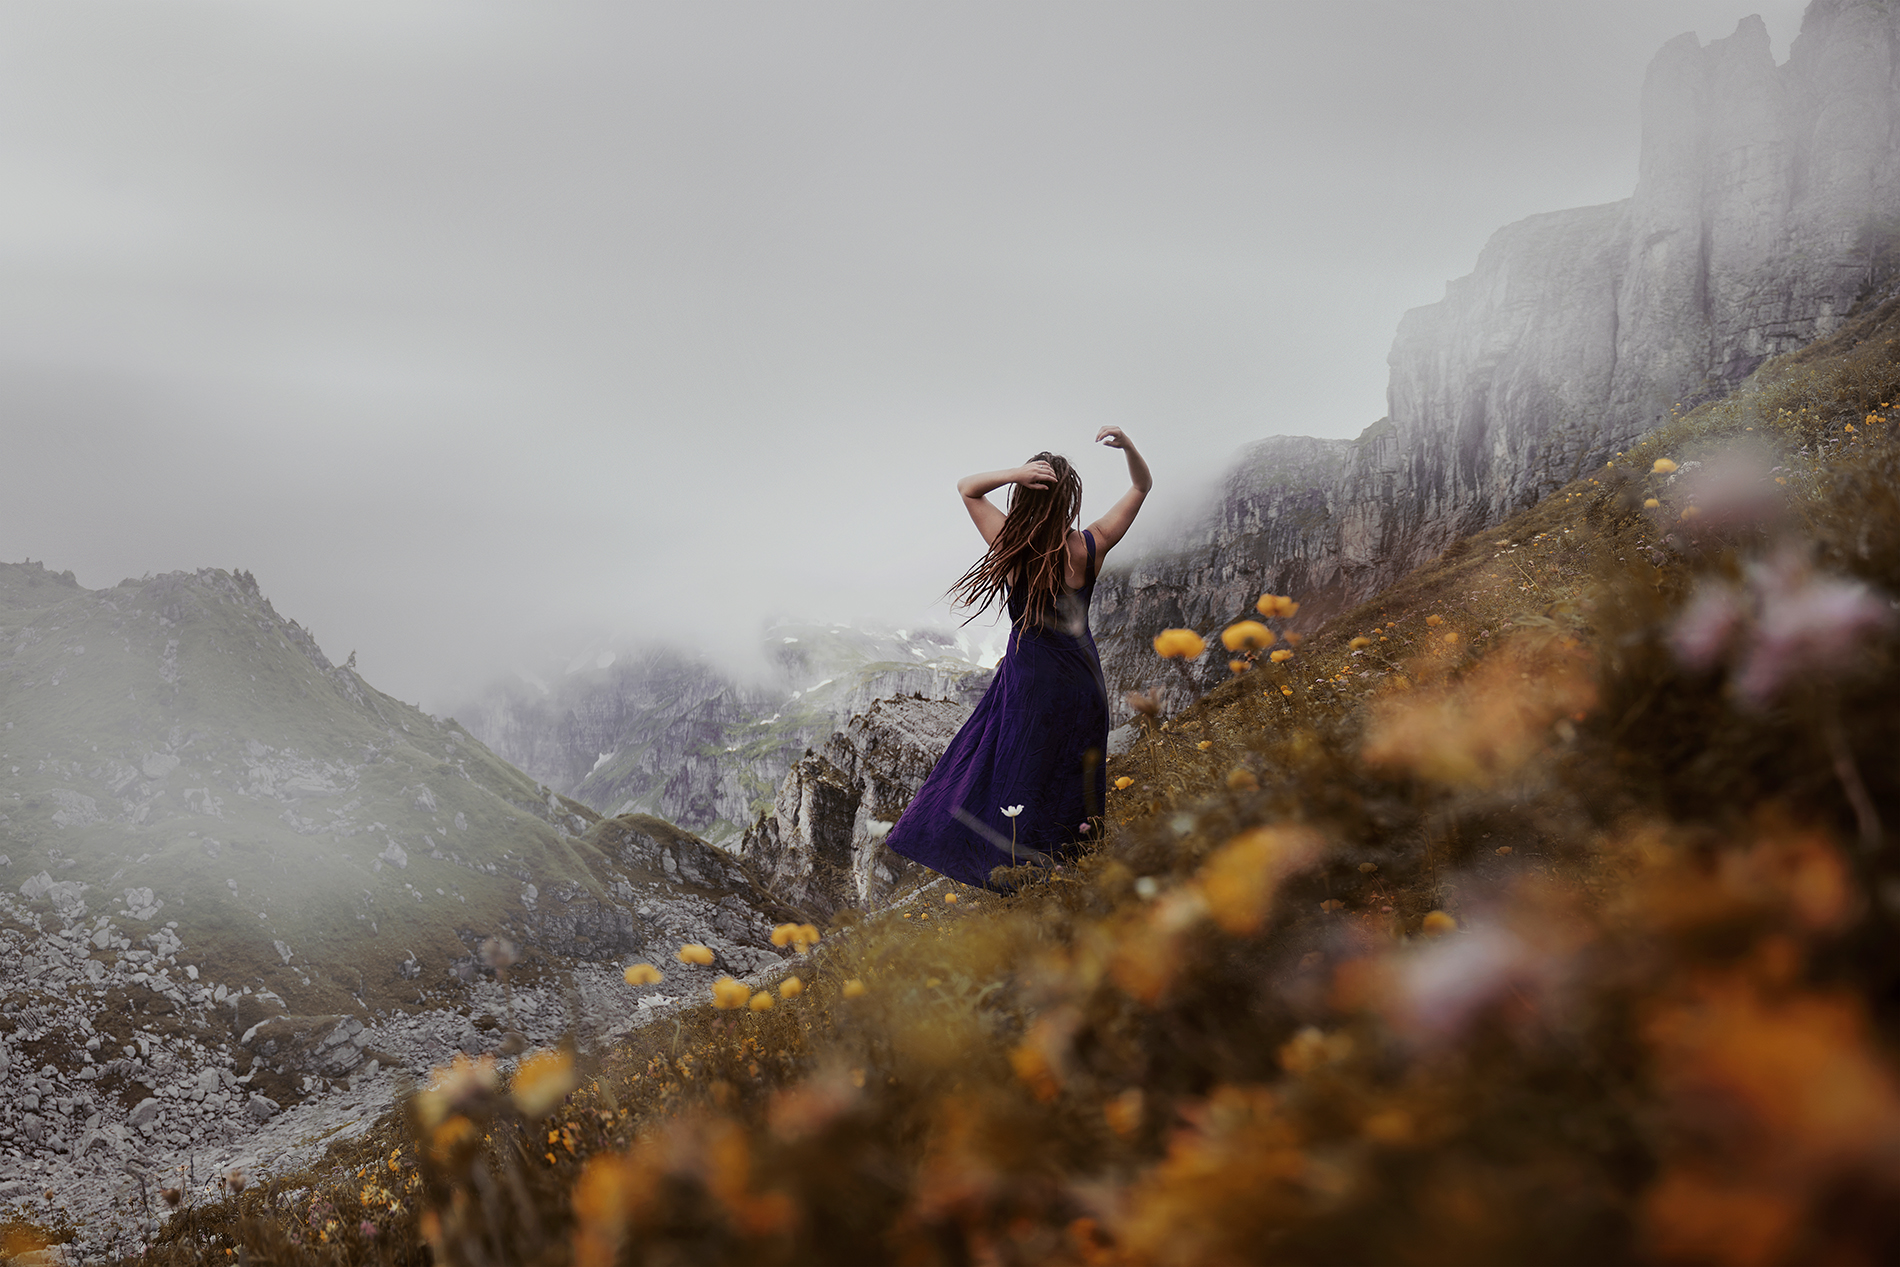
The Complete Guide to (Artistic) Self-Portrait Photography
So you want to learn how to take artistic photos of yourself? You‘ve come to the right place. This comprehensive guide to self-portrait photography will walk you through everything you need to know about the art of self-portraiture.
Self-portrait photography certainly is an underrated art form – to some people, it still sounds like a narcissistic joke. I dare to believe, however, that self-portraits can be a tool to improve your photography, get wonderfully creative, tell powerful stories and explore your feelings in a very safe space.
Before we get started…
Let me introduce myself quickly:
My name is Anna Heimkreiter, I’m a self-portrait photographer with more than 10 years of experience. This special art genre is very close to my heart but honestly, there is not a lot of guidance out there – so I made it my mission to create an all-encompassing resource on self-portrait photography.
If you want to see if my advice is actually worth listening to, feel free to have a look at my self-portrait portfolio here 😉
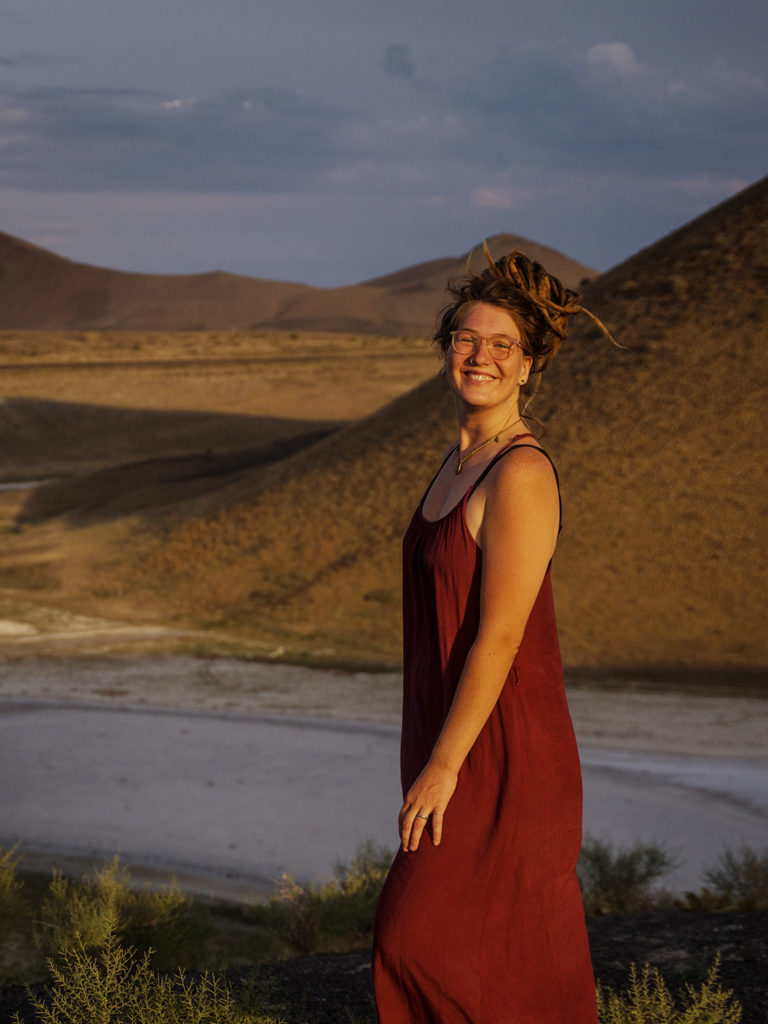
Now, back to business: This beginner-friendly guide will introduce you to the art of self-portrait photography, teach you how to express yourself through self-portraits, and give you plenty of creative ideas on how to get started.
Since this is a very comprehensive and lengthy article, feel free to skip to the part you‘re most curious about or bookmark it for later to come back and read more.
Introduction: Self-Portrait Photography 101
What is self-portrait photography?
Self-portrait photography is the art of taking pictures of one’s self. A self-portrait is created without other people involved in the creative process – the photographer and the person in front of the camera are the same person.
In its essence, self-portrait photography is all about creative expression. It is a way of telling stories through one’s likeness – which makes it pretty unique in the photography world.
A quick history of self-portraits
People have been taking self-portraits for as long as photography has been around. Just like painters have always created self-portraits, photographers very quickly started doing the same.
The first self-portrait photo in history was already taken back in 1839, by US-American photography pioneer Robert Cornelius.
Inspiring historical female self-portrait photographers are Frances Benjamin Johnston and Anne Brigman. I wrote my bachelor thesis on these women and wish more people knew about their work!
What is the difference between a self-portrait and a selfie?
Nowadays, almost everyone has taken a selfie at some point in their life. But fewer people take self-portraits, as they tend to be more carefully crafted than a selfie.
A selfie is a spontaneously taken picture of yourself, much like a snapshot, whereas the focus of self-portraiture lies on story-telling and artistry.
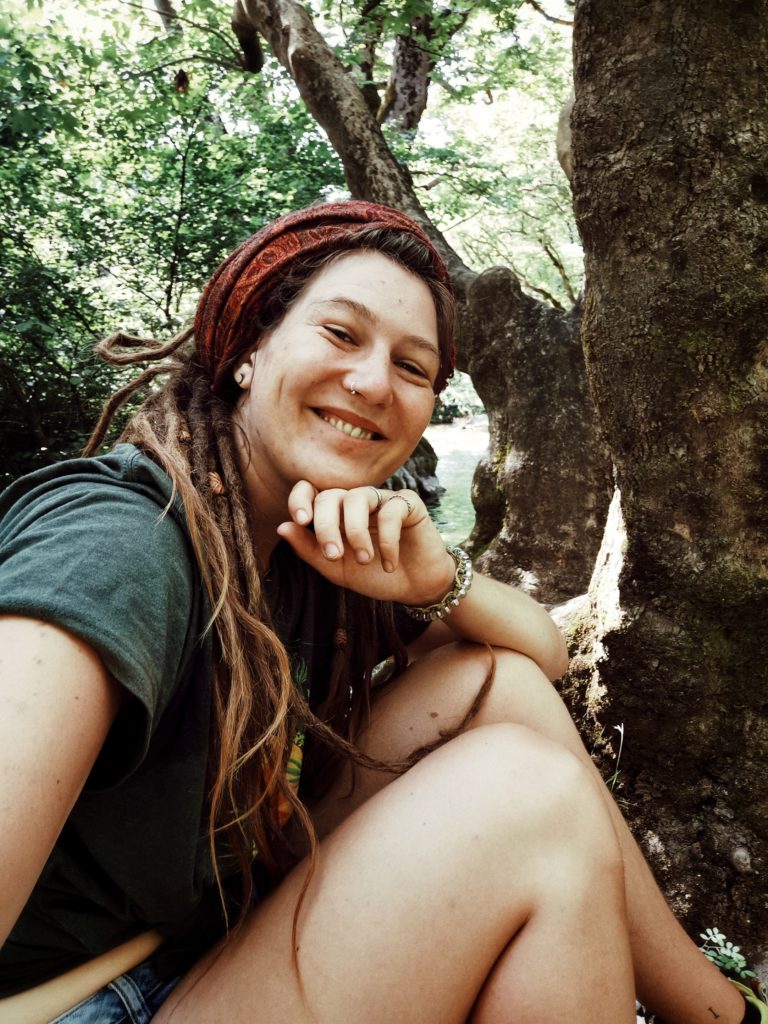
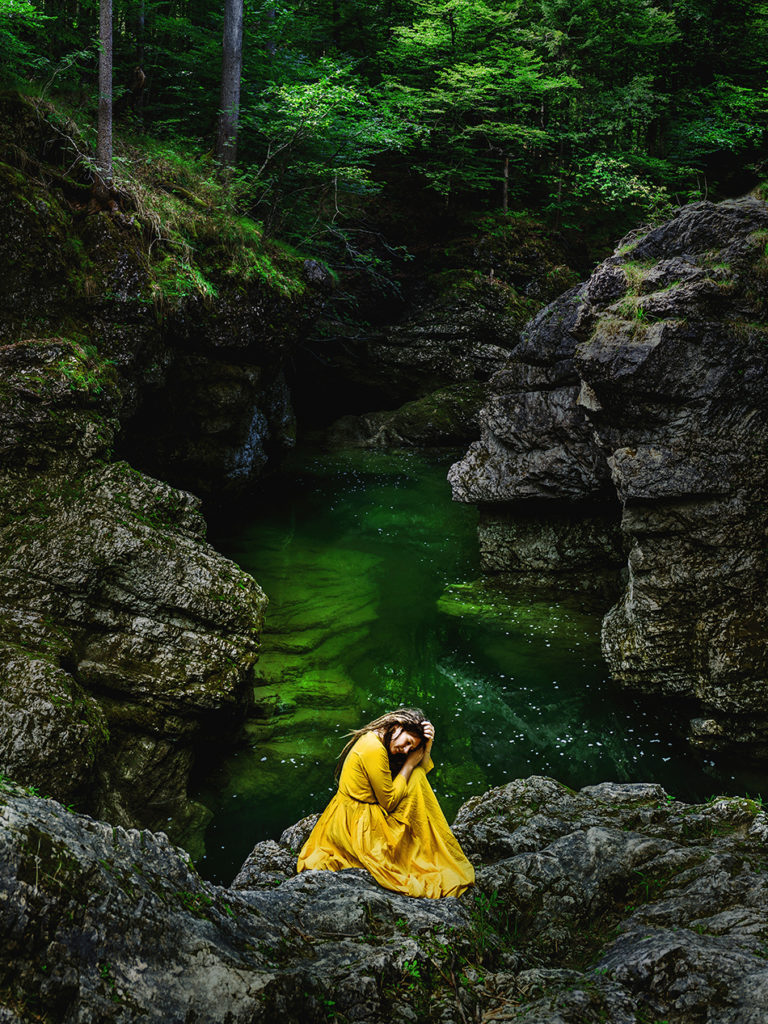
In general, a selfie aims to depict you as you really are and capture moments, while a self-portrait is often an invitation to explore different roles or tell a story. It is not so much about the person themselves as the overall message of the image.
| Selfie | Self-portrait |
| Spontaneous, out of the moment | Intentionally staged |
| Capturing memories | Story-telling, self-expression |
| Rarely edited apart from ready-made filters | Frequently uses elaborate post-processing |
| No artistic aspiration | Created with artistic intention |
| Usually taken on a phone held out with one arm | Often taken with a professional camera and additional gear |
Of course, this list is not definite. Can a selfie taken on a phone have artistic qualities? Absolutely. Can both a selfie and a self-portrait be staged or not? Of course. You see, in the end, it is up to you what to call your pictures.
For me, the most decisive element is the intentional creative process. When taking a selfie, I want to capture a moment. When taking a self-portrait, I create a moment.
And that is not necessarily about staging anything ‘fake’. Often, these moments are raw, vulnerable and authentic but I go in there with the intention of creating something of artistic value.
Why do people take self-portraits?
There are many reasons why people – including myself – resort to self-portraiture. And quite contrary to what some internet trolls believe, it has little to do with being overly in love with yourself.
Here are some common reasons why people take self-portraits:
1. Self-expression
„A picture says more than a thousand words“ may be one of the most cliché quotes but there is a lot of truth to it. Through self-portrait photography, we can express a myriad of stories – and even get to know ourselves better throughout the process.
Part of being human is wanting to be (and feel) seen for who you really are. Self-portrait photography allows you to portray yourself in any way you want to be and share it with the world. You get to choose how you want the world to see you – that is powerful stuff.
While you may try on a lot of different roles in your self-portraits, in the end, they always link back to who you are – even if the self-portrait is not meant to depict your literal self, it is an expression of your rich inner world and imagination.
2. Convenience & control of the creative process
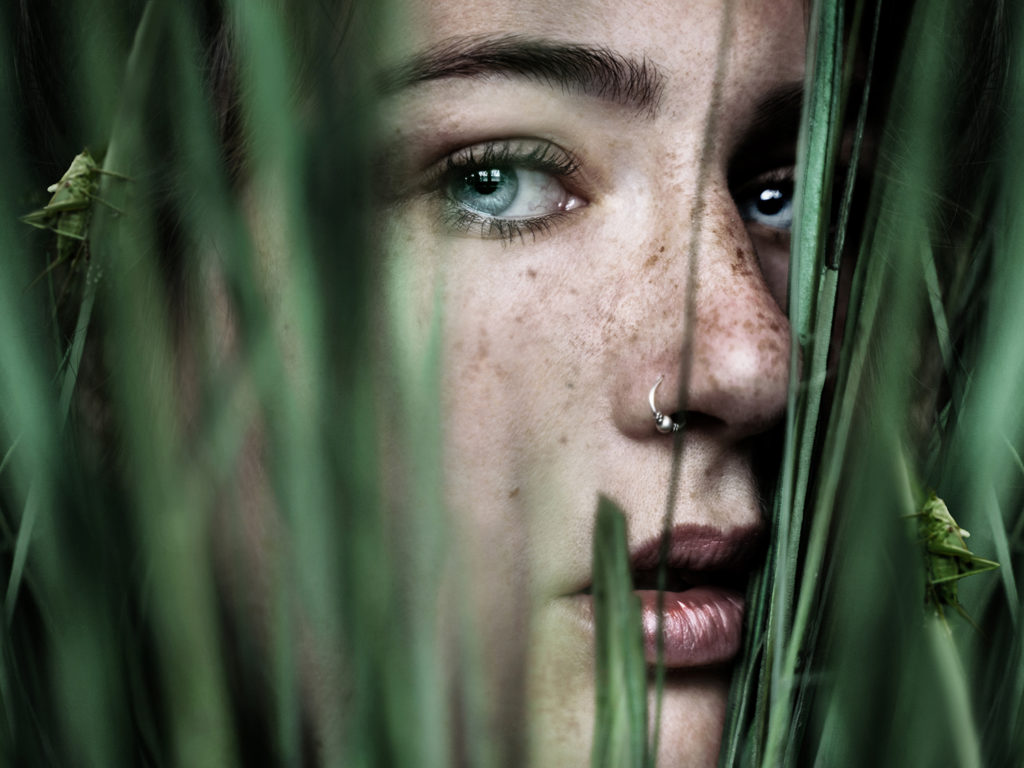
One of the coolest (and most challenging) things about self-portraits is that you get to do everything completely by yourself. Yes, that also comes with additional challenges, but it is very freeing to be able to create whenever you want without having to rely on somebody else.
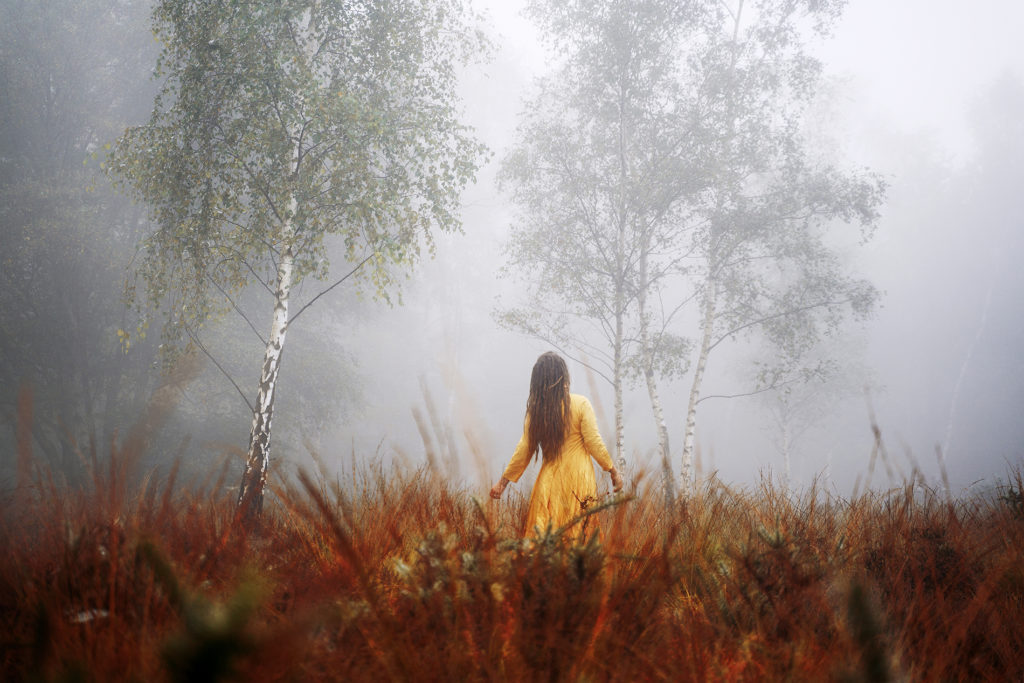
If you see magical fog outside and you want to create something before it fades, you don‘t first have to organize a model. You can go out there and shoot by yourself.
It is simply convenient but self-portraits also give you a lot of room to experiment. When portraying others, there can be an expectation from both parties to get a certain result.
With just you and the camera, you can simply try new things without any pressure. The perfect art form for introverts, one could argue 😉
3. Self-portrait therapy
Taking photos of yourself is a very intimate process – and so deeply linked to our emotions that it can feel very therapeutic. Many artists in the self-portrait genre (including myself) have stated that self-portraits, to them, are a form of therapy. 99% of times I take self-portraits, they leave me feeling better than I have before.
Phototherapy is indeed a thing. From my experience, self-portraits are therapeutic for a couple of reasons. The process of tuning in with yourself and expressing what dwells inside of you is incredibly healing. Sometimes, you might not even be aware of what is going on until you step in front of the camera.
Since there is no one else watching, self-portraits are a very safe space to explore your emotions – and transform them eventually. And, of course, just the act of creating something can lift your spirits and get you into a flow state of mind.
Finding your style of self-portrait photography
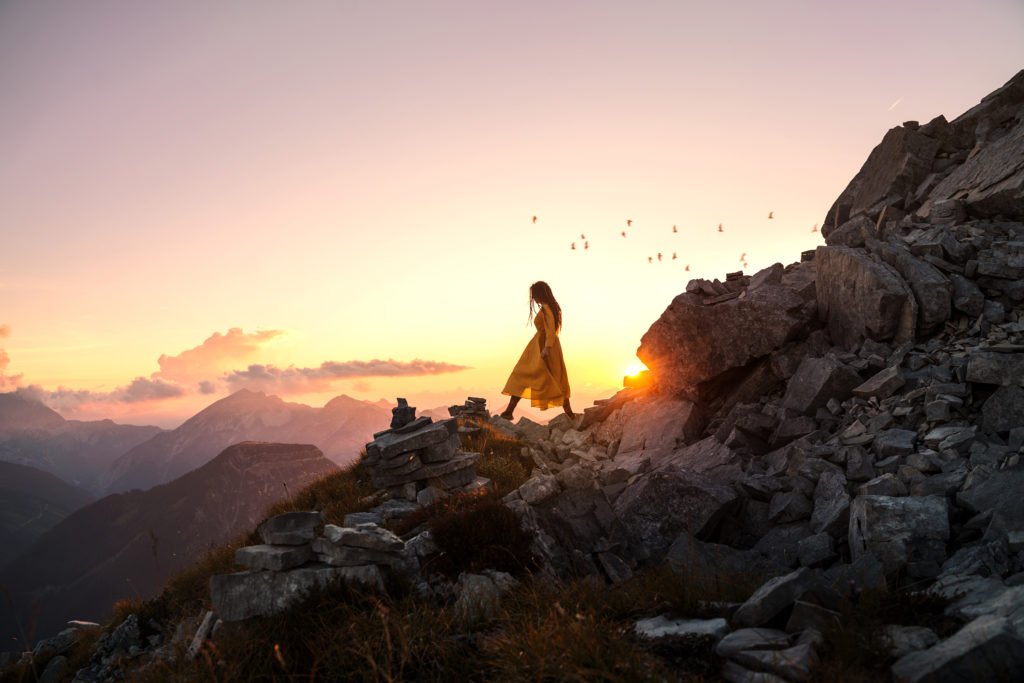
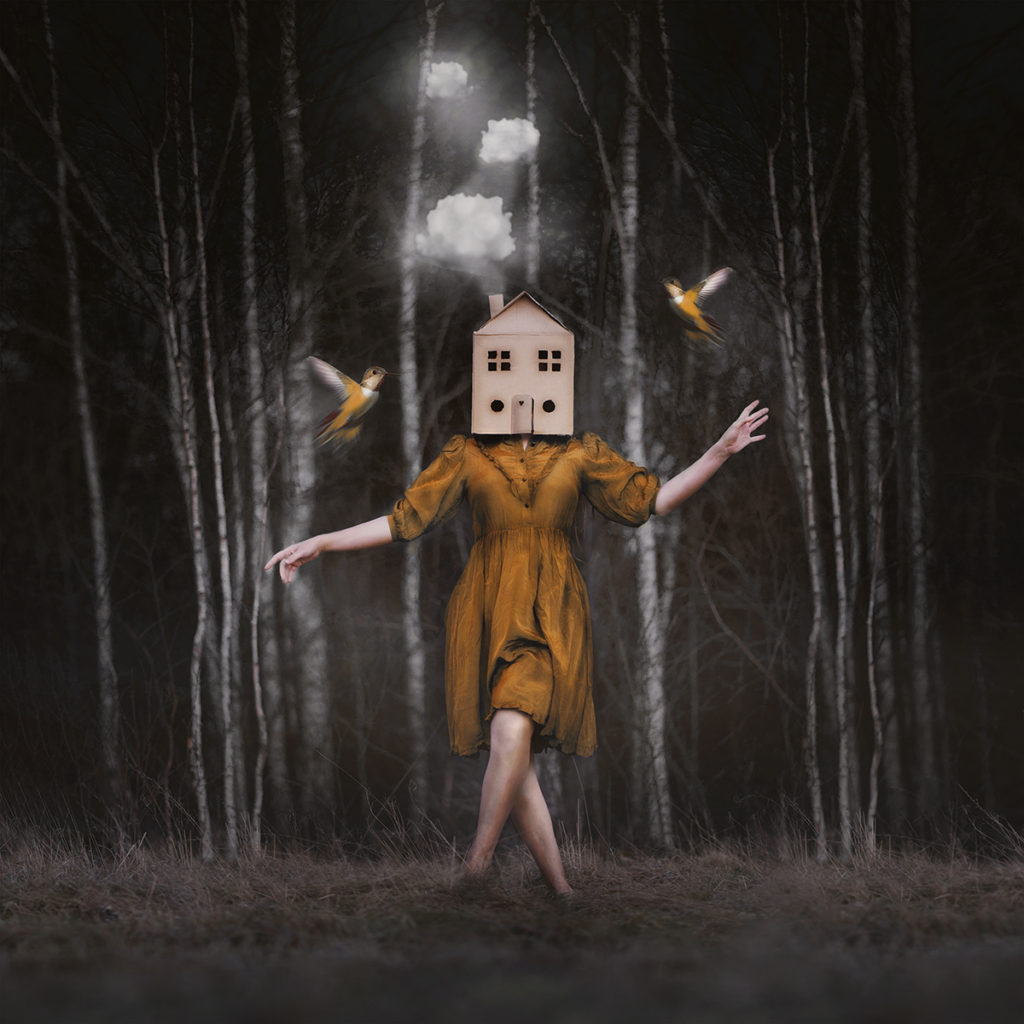
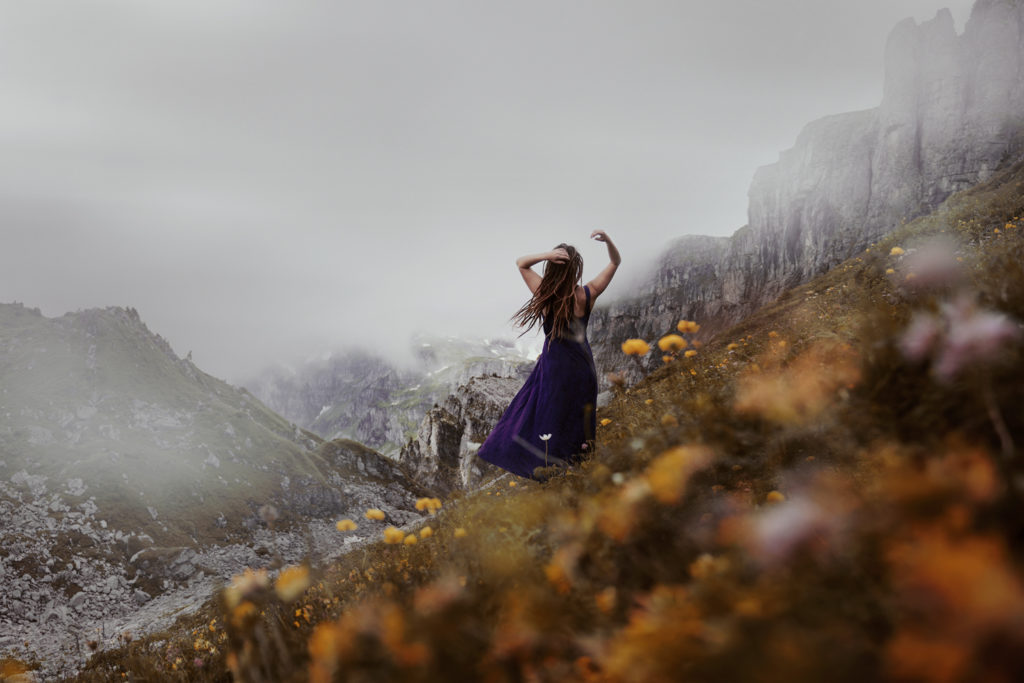
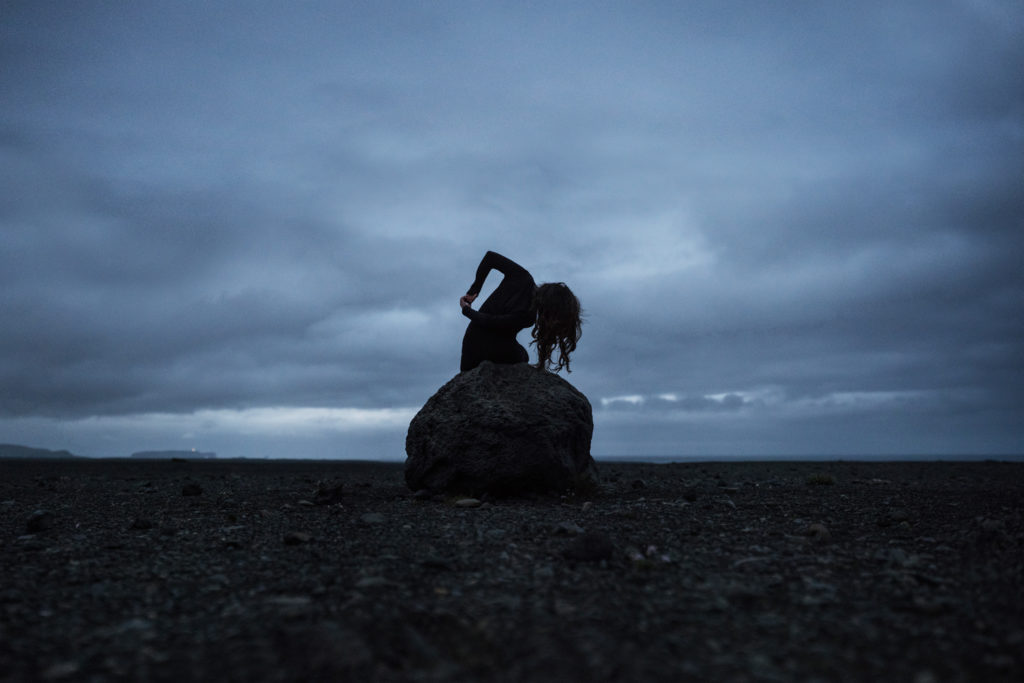
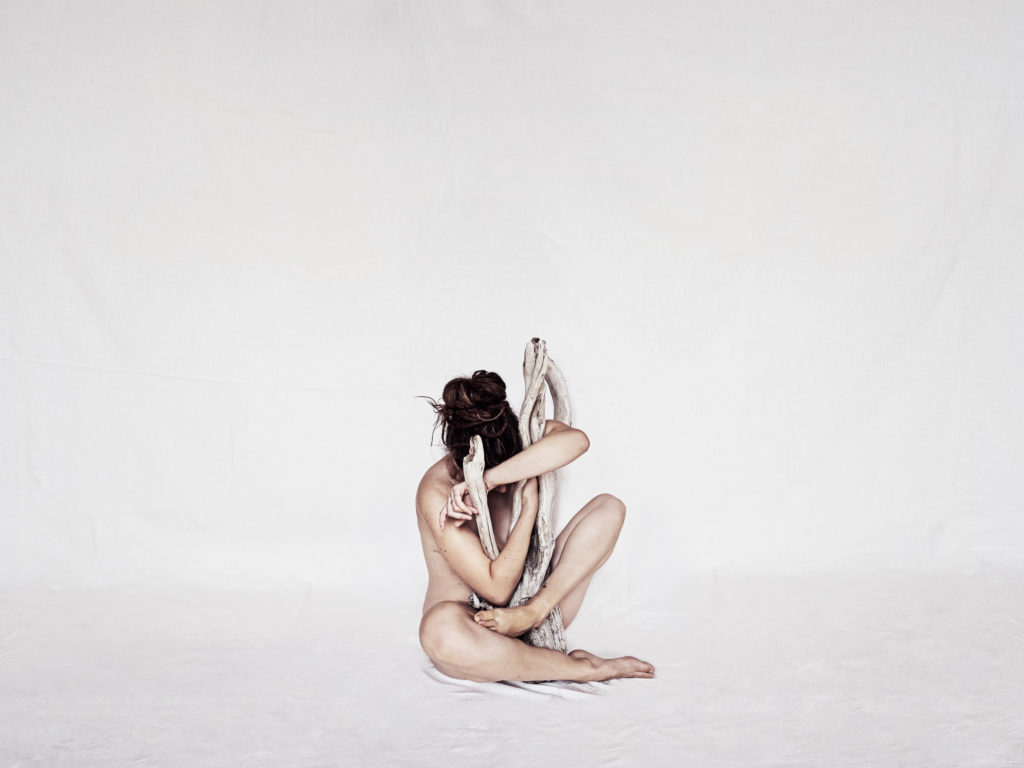
Since self-portrait photography is rather a technique than a style, there are as many styles of self-portraits as in portrait photography in general – but let’s look at a few popular ones.
Common terms to describe the style of a self-portrait:
- realistic/raw – unstaged, authentic, possibly unedited
- surreal/conceptual – story-telling, fantasy-like, often strongly edited
- ethereal/whimsical – dream-like, mystical, inspiring
- dark/moody – muted tones, dramatic, often exploring ‚darker‘ feelings
- artistic/fine art – a general implication of artistic self-expression
It is common, however, to not just stick to one of these. I‘ve used all of these terms to describe my work – and I‘m sure there are many more to be added to the list.
So, how do you find your style? You experiment (sometimes for years) – until you recognize some recurring elements that truly feel like you.
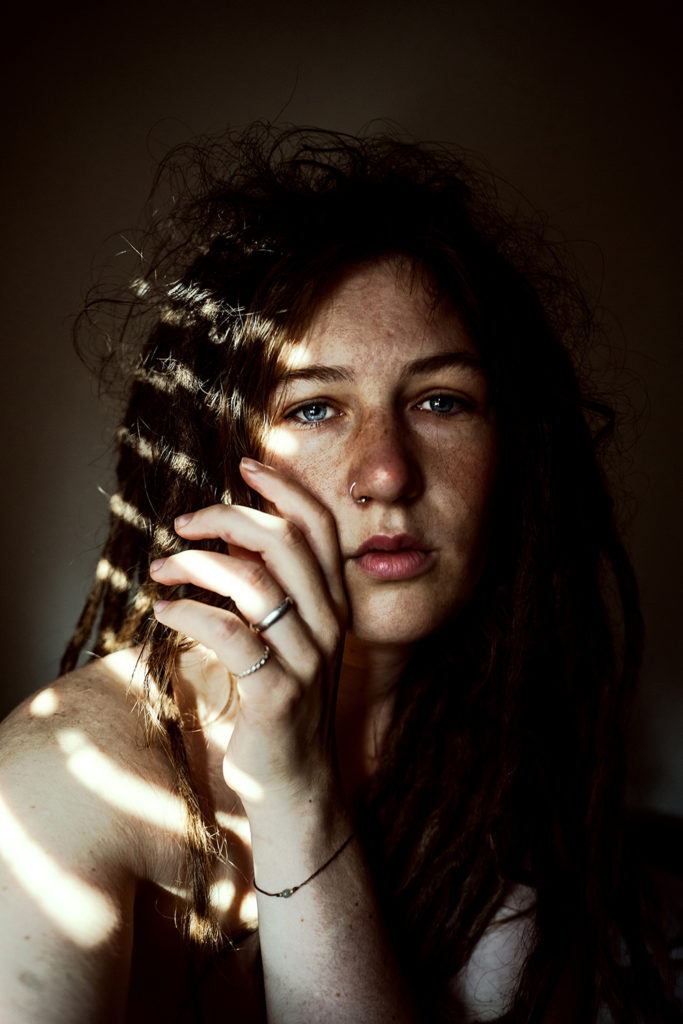
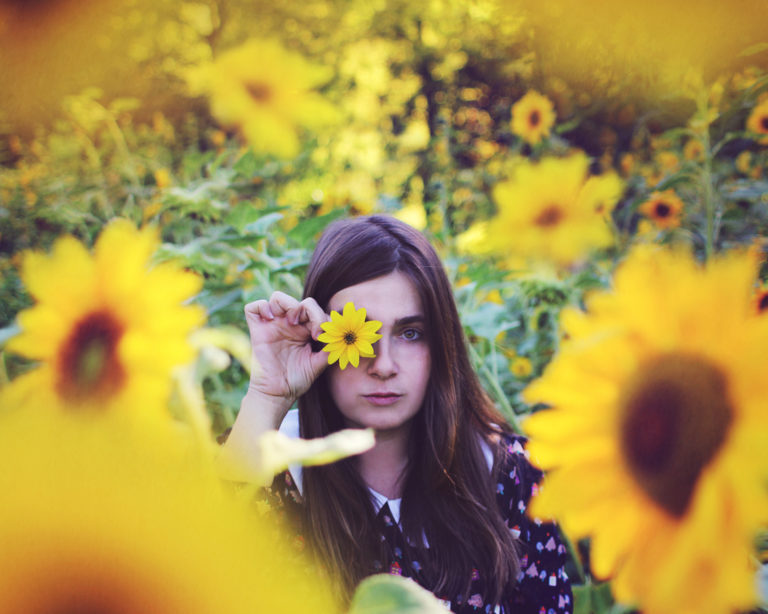
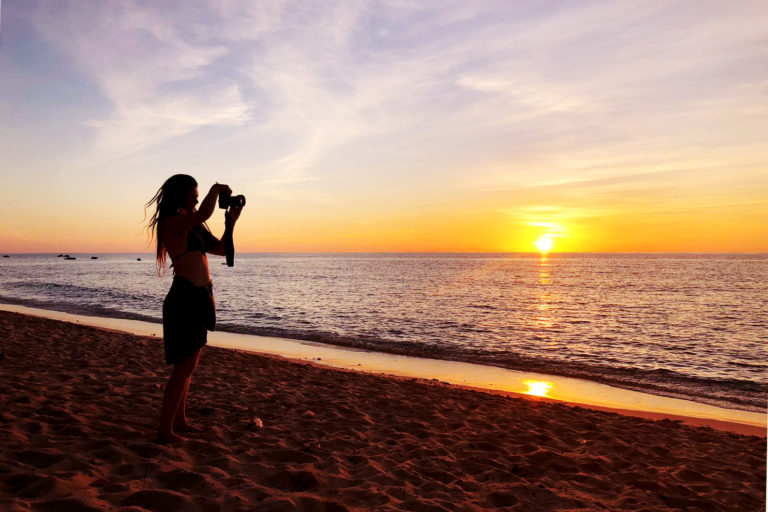
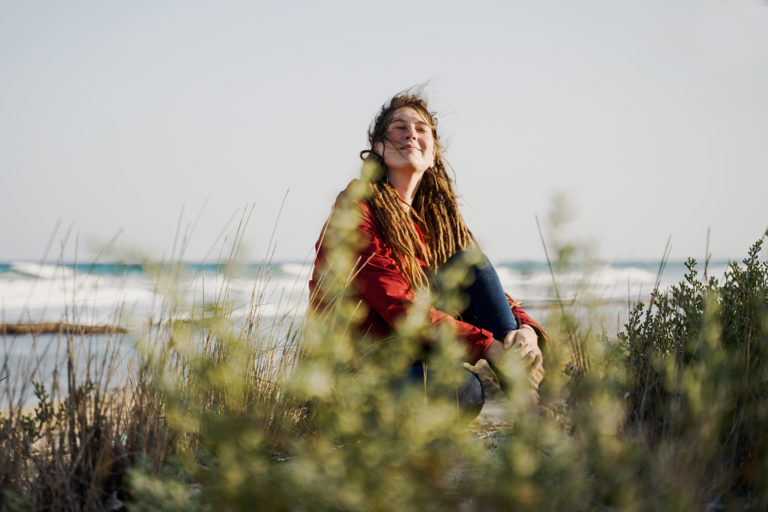
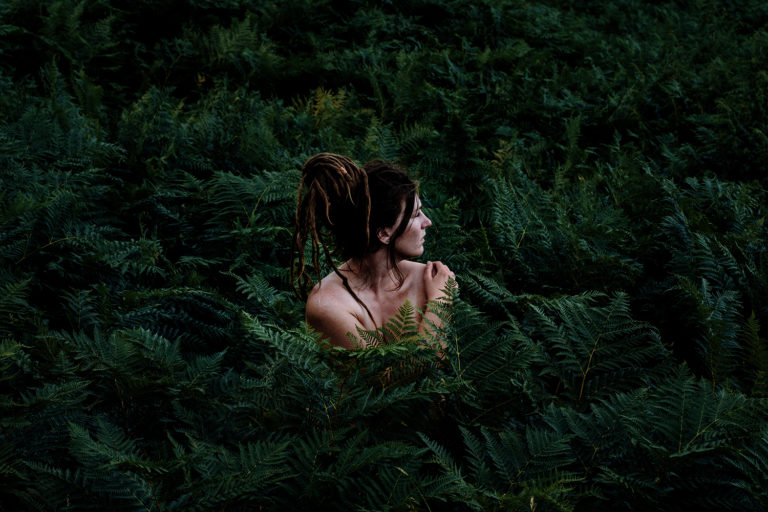
Here are a few examples from my portfolio that visualize different styles:
How to build confidence for self-portraits
Something that a lot of people struggle with when first trying to take a self-portrait is self-confidence.
Isn‘t it weird? Do I look weird? What if I hate how I look?
These are all valid emotions coming up. But that‘s exactly where the power of self-portraits comes into play – in fact, they can even help you build confidence.
Remember that it is just you and your camera – a safe space for you to explore and be curious about yourself.
If you don‘t like how you look in the images, please be guaranteed that everyone, no matter the looks, has good and bad angles.
Can you challenge yourself to find your good angles? Can you find new things to love about yourself through these images?
You only need to be confident enough to take the first step – all else will come with time.
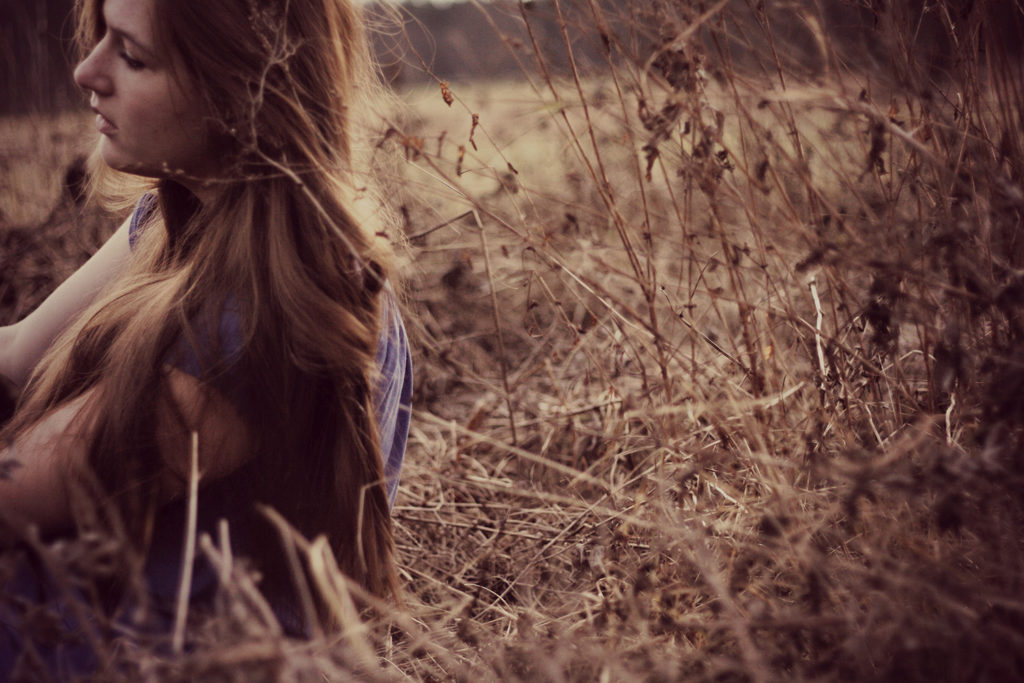
My top 3 tips for gaining confidence with self-portraits:
- dare to experiment and get to know yourself in front of the camera without judgment
- stay compassionate with yourself in the process – you are learning a new skill, and that takes time!
- do not feel pressured to show the photos to anyone or to get good results right away
When I started self-portraiture, I really struggled with my appearance. But in the end, they were what most helped me to find more self-love and -acceptance.
The best way to avoid possible frustrations is to approach self-portraits from a standpoint of play and curiosity.
Self-portraits done right can become a practice for self-love.
Click here to read more about my self-portrait journey and how it made me love myself more.
Don’t forget to subscribe for more art (and musings about life) in your inbox ❤️
Self-portrait photography for beginners
Now, you want to start taking self-portraits but don‘t quite know how to get started? No worries, I got you. Here is the very basic stuff from A to Z – by the time you finish reading this, you‘ll be much less of a beginner.
How to take a self-portrait
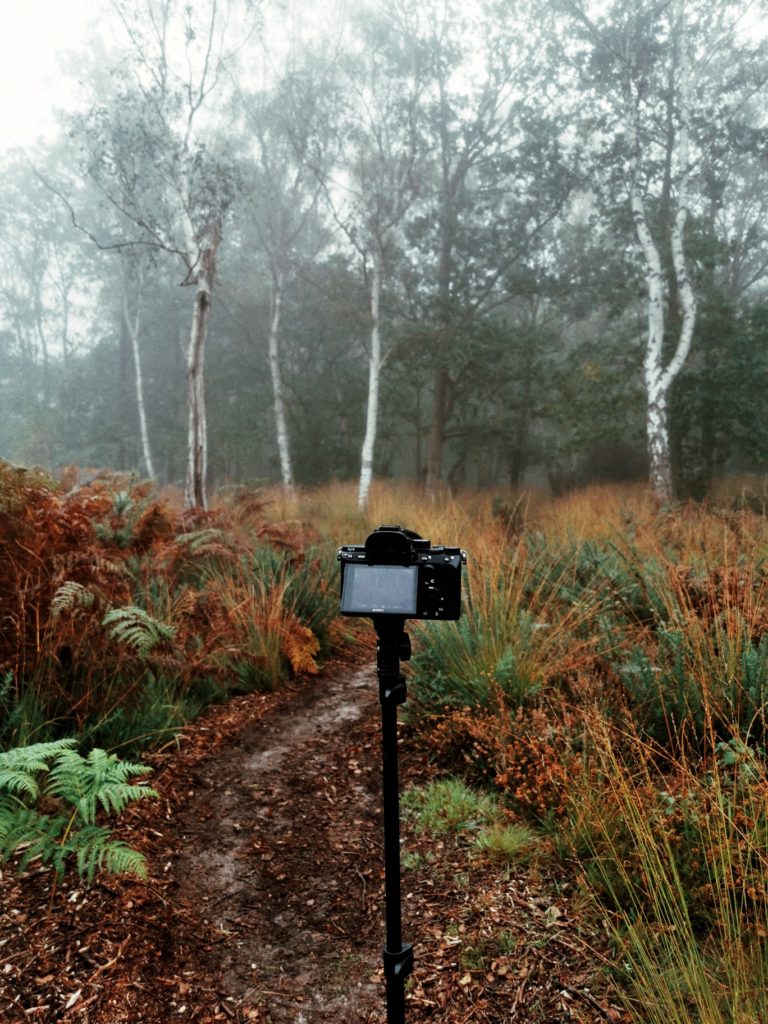
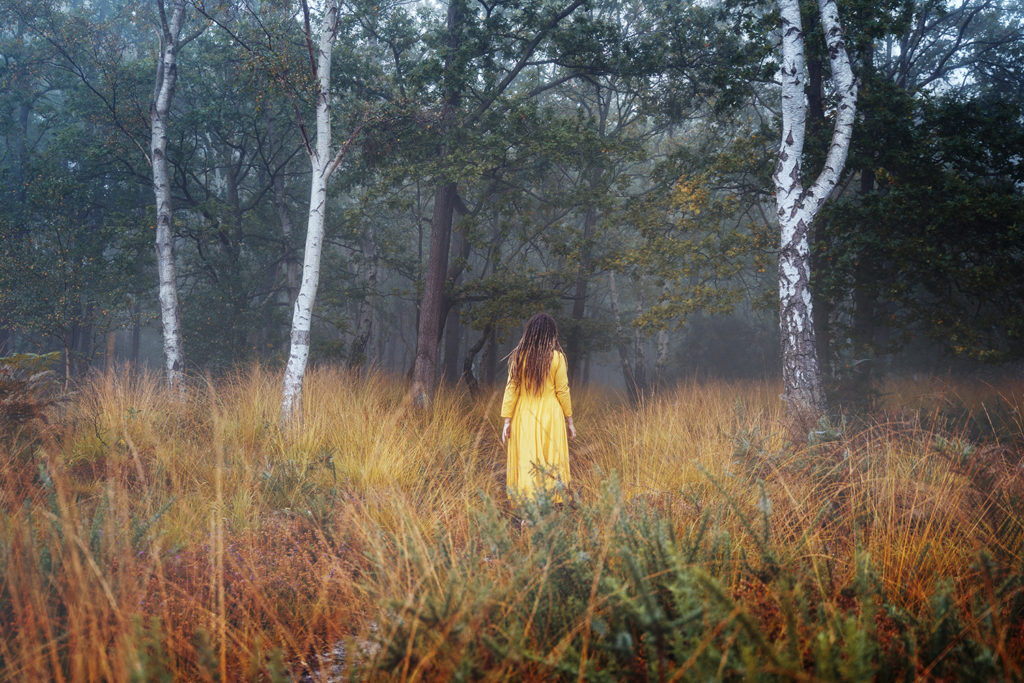
The basic process behind a self-portrait looks like this:
- Place your camera on a tripod (or another stable base)
- Direct the camera toward the scene you want to capture yourself in
- Connect a remote control to operate the camera from a distance or set up the built-in timer
- Position yourself in front of the camera
- Release the shutter to take one or several photos
- Check the photos and if necessary, repeat the process
You might have to give it a few tries to get the angle and focus right. Since there is nobody there to direct you, only the camera will reveal how the photo turned out – it is very much of a trial and error process, but be assured that it will get better with time.
The more you take self-portraits, the easier it gets to nail the composition, get the focus right and pose yourself in a way that tells exactly the story you want.
Equipment: What do you need for a self-portrait?
Taking a self-portrait can be done with almost no equipment but there are a few great helpers out there to make the process easier.
To take a self-portrait you need:
- A camera (or smartphone) with a built-in timer
- Optional, but helpful: Tripod
- Optional, but helpful: Remote control or app to operate the camera

A tripod is handy to help you get exactly the angle you want to photograph. Honestly, I also balance my camera on things like tree trunks or rocks a lot but it does limit your options for unique angles (and might not be the safest choice).
If you want to make sure to get the perspective just like you want it, invest in a tripod.
A remote control helps you to click the shutter from a distance without having to touch your camera. Nowadays, they usually connect with your phone or camera via Bluetooth (gone are the days of long-wire remotes).
Another great advancement is the option to operate your camera through your phone – more and more modern cameras allow you to do so. For my Sony camera, I had to download a remote-control app. Then I can connect my phone via the built-in wifi of my camera.
The biggest advantages of using an app compared to a regular remote:
- you can see live on the phone screen what the camera sees
- you can change the camera settings from a distance
- you can check the results directly on your phone
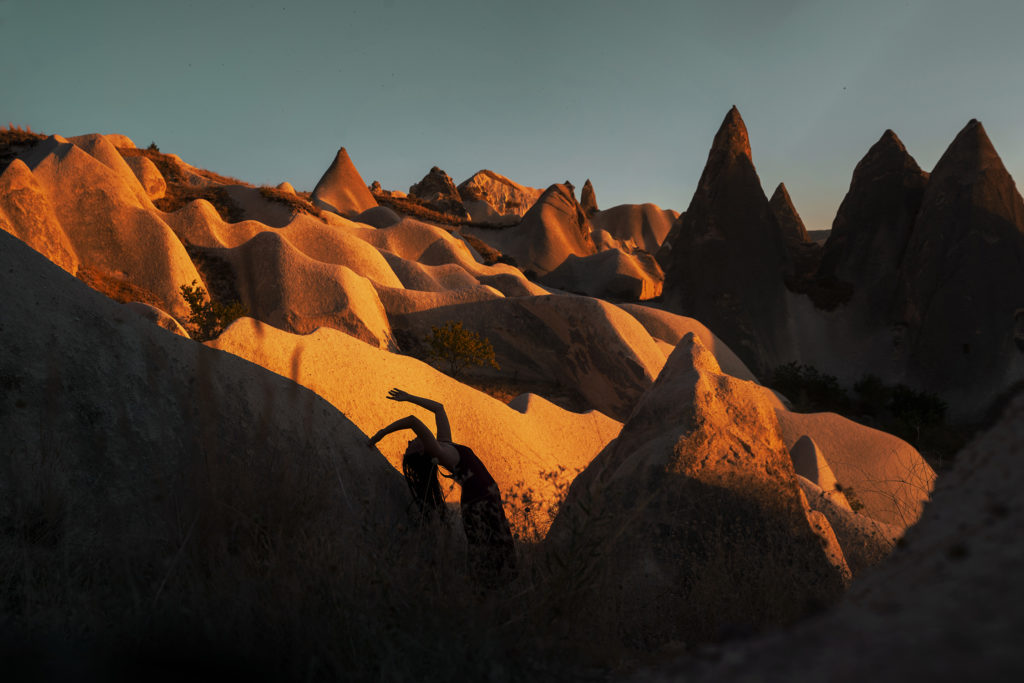
Using the timer for self-portraits
The timer is one of the most vital settings for self-portraits. Because usually, you don‘t want your remote or phone to be showing in the picture, right?
Typical timer settings are a 2, 5, or 10-second delay. This gives you time to hide your remote and get into the pose you want to show in the photo.
PRO TIP: Use the interval timer. The interval timer allows you to take multiple pictures in a row without having to trigger each shot individually.
You can delay the first shot (e.g. by 10 seconds to get into position) and then choose how many photos you want your camera to take and in which interval (e.g. every 1 or 2 seconds).
This is especially great if you move far away from your camera or into a difficult pose/location, like having to climb a rock.
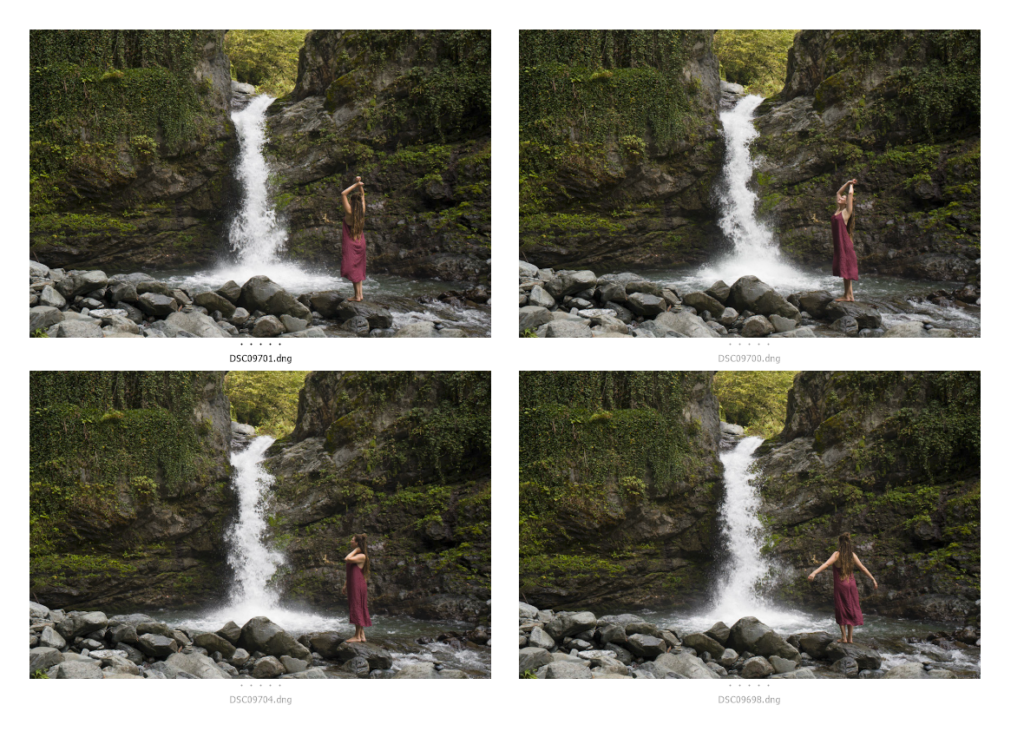
My typical self-portrait process looks like this:
- take test shots
- when I‘m happy with it, lock the focus (= switching to manual)
- switch on the interval timer
- go back to my position
- try many different poses while the camera takes a series of pictures
- check results and repeat if necessary
I love shooting like this because it really allows me to focus on the process without distractions. It is a much nicer experience than having to run back to the camera after each picture.
Best camera settings for self-portraits
Now, you will probably not want to hear this but there are no perfect camera settings for self-portraits – it entirely depends on what you shoot with and what you want the picture to look like.
Most people start out shooting in automatic mode but understanding the manual controls of your camera gives you much more control of the outcome.
Basically, there are 3 major settings you need to understand: Shutter speed, ISO and aperture.
Low shutter speed
- brightens the image
- great for low-light situations and long exposures (e.g. capturing stars)
- adds motion blur
High shutter speed
- darkens the image
- great for bright daylight
- allows you to capture moving objects without blurring
Low ISO
- darkens the image
- less grain
High ISO
- brightens the image
- more grain
Low aperture
- larger aperture opening – more light comes in
- brightens the image
- shallow depth of field (only a small area in focus)
High aperture
- narrower aperture opening – less light comes in
- darkens the image
- larger depth of field (more parts of the image in focus)
Depending on the light situation and desired creative effects, it is your task as a photographer to find the right balance of shutter speed, ISO and aperture.
Personally, I like to set a low aperture number like f/2.8 or f/1.8 first and then adjust the other settings accordingly.
I recommend taking some test shots on your camera so you understand how each of those settings affects the outcome – once you start getting the hang of it, it is actually quite easy!
Find a more complete introduction to camera settings here.
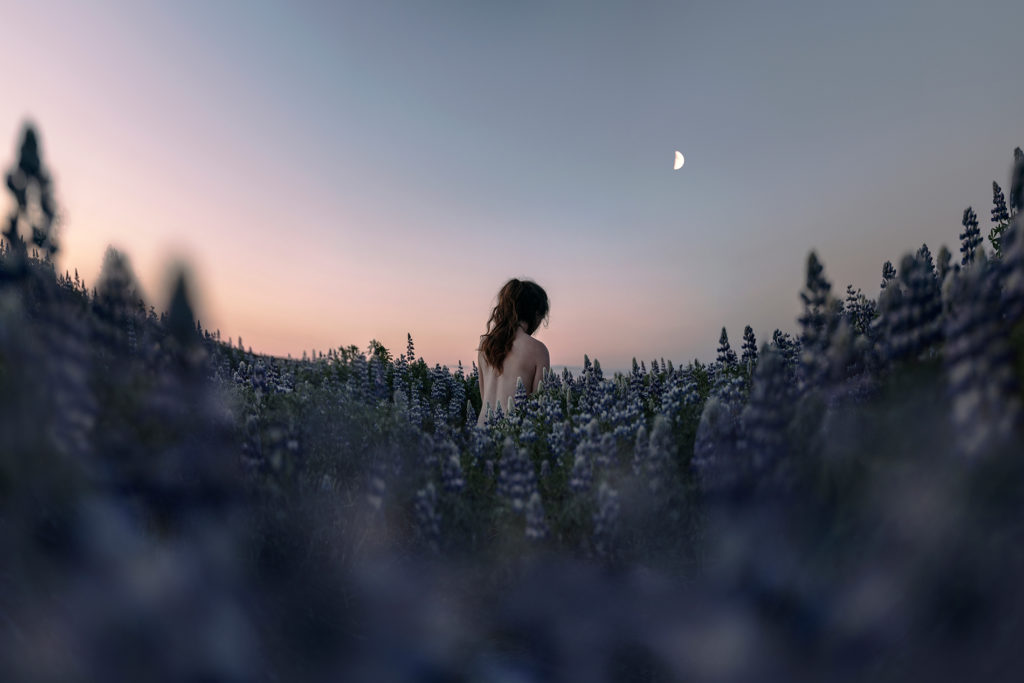
How to take self-portraits with a phone
With smartphone cameras getting better and better, it is now absolutely possible to take astonishing self-portraits even on a phone.
The process is quite similar – you can lean your phone against another object or use a specific phone tripod.
Tips for taking self-portraits with your phone:
- use the timer so you can take self-portraits handsfree (otherwise, you‘ll end up with an extended arm showing)
- use pro mode – allows you to adjust the settings better
- use portrait mode – creates an effect similar to professional camera lenses
You can even edit your self-portraits directly on a phone. There are many photo editing apps that let you get amazing results – the only limitation would be composites of several images, these usually require a larger screen.
Basic editing of color and lighting is perfectly doable on your phone! The Photoshop phone app is free – my personal favorite (free) app is currently Snapseed.
Self Portraits without a tripod
Now, I talked about using a tripod quite a lot. Can I confess something? A lot of my self-portraits are taken without a tripod – mainly for two reasons:
a) I‘m too lazy to carry a heavy tripod
b) I keep breaking the lightweight, cheaper tripods
While it is a lot more limited, it is absolutely possible to take self-portraits without a tripod. If you don‘t want to invest in a tripod right away, you can try balancing your camera on various objects.
Great tripod replacements are shoes, backpacks, tree trunks, window panes, rocks, a staple of books, … you get the idea.
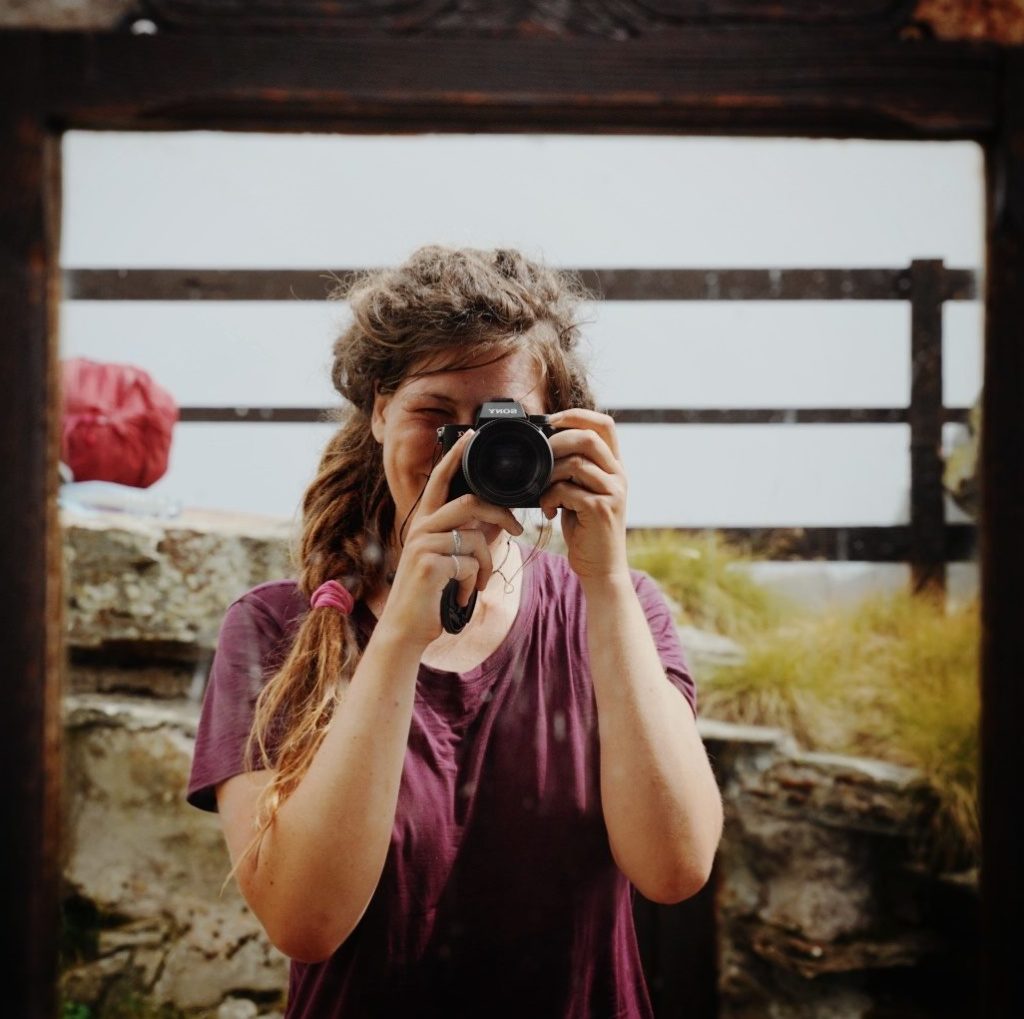
And then of course there is the classic mirror self-portrait!
The last option would be „the human tripod“. Sometimes, when I‘m short on time or trying to get a really difficult angle, I use this method.
I fix all settings and set up the scene exactly how I want to, then tell another person to literally just hold the camera (exactly how I show them to) and keep clicking the button.
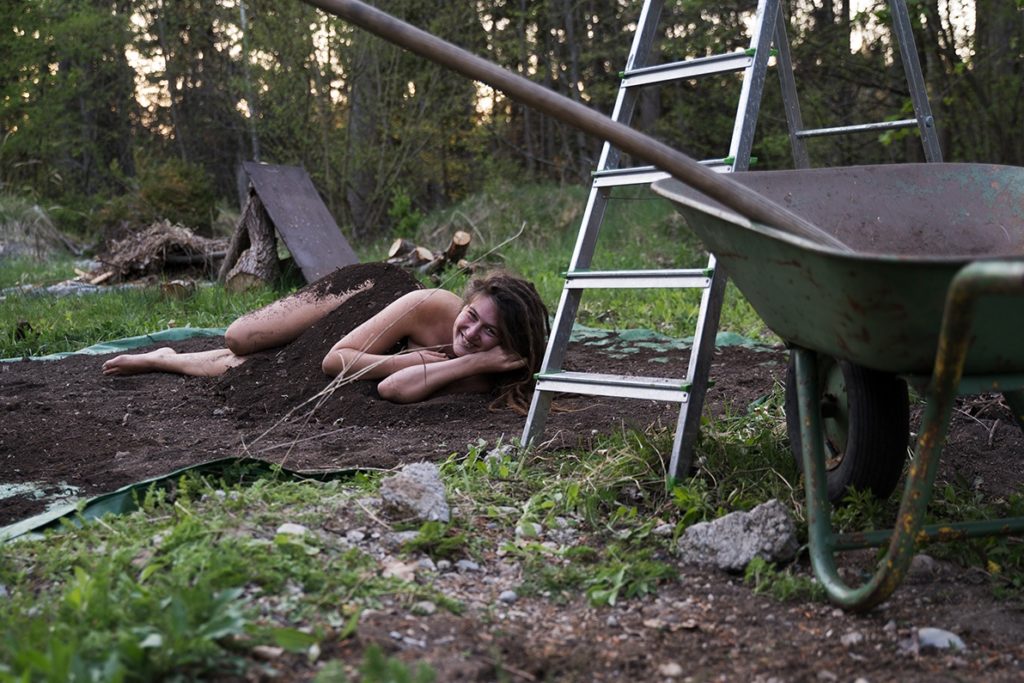
Now I‘m sure some people would argue that „that is not a self-portrait anymore“ – but I’d say if you are in full creative control, it still is.
Self-Portraits on Film
Are you wondering if it is possible to take self-portraits on film? For sure it is! People have been taking photographic self-portraits even before this medium emerged, so of course, film is no exception.
Taking self-portraits on film, however, is definitely more challenging than taking digital self-portraits.
You cannot check the results right away and it can be more difficult to control the focus and settings. The results are often a little bit unpredictable but certainly can be improved with practice. Said unpredictability is part of its very special magic, however.
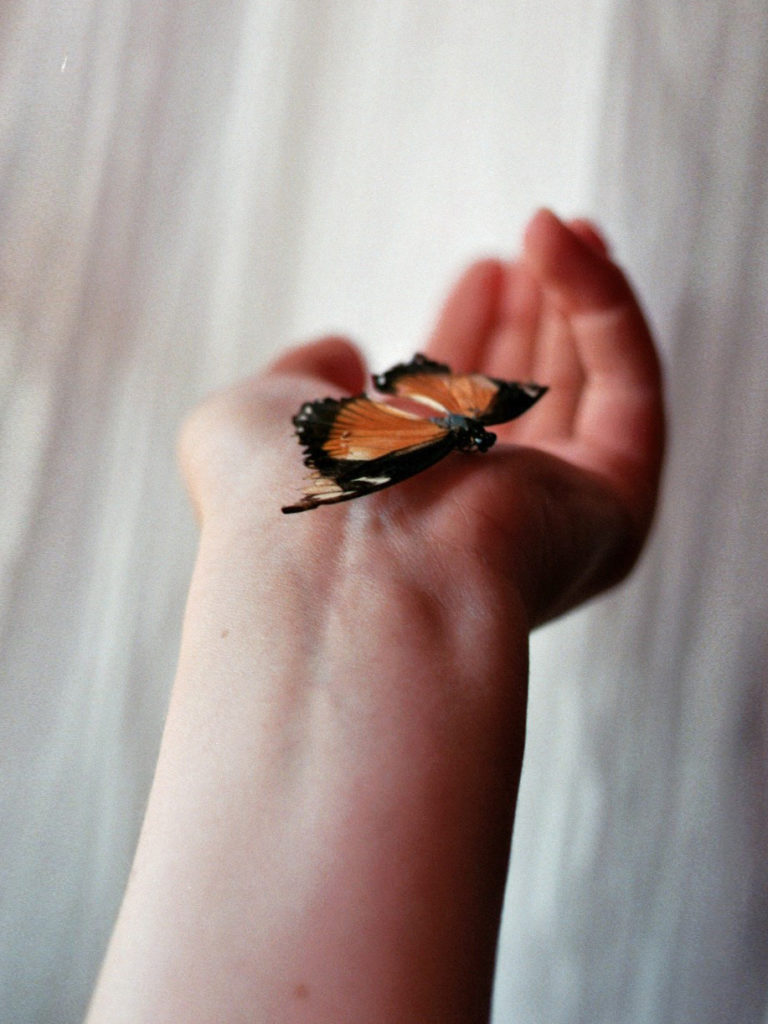
I‘ve dabbled in taking self-portraits on film a little but since I usually need around 100 attempts to look semi-graceful, it is not my favorite medium.
I don‘t want to give any advice on topics I don‘t have expertise in, so let’s pass the mic to someone who can.
Unsponsored recommendation: Chantal Convertini, whose work I like a lot, has a class on self-portraits on film available.
How to nail the focus for self-portrait photography
Getting the focus right is one of the most difficult parts of self-portraiture. I can‘t tell you how many times I‘ve been frustrated with failed photo sessions because I just couldn‘t get the focus right.
If you‘re working with a high aperture, the focus is not so much of a problem – but many of us love that depth created by a small focal area.
Focus problems can be caused by:
- distracting elements in the foreground
- low-light situations
- the person being too small / outside of the center of the image
- direct sunlight hitting your lens
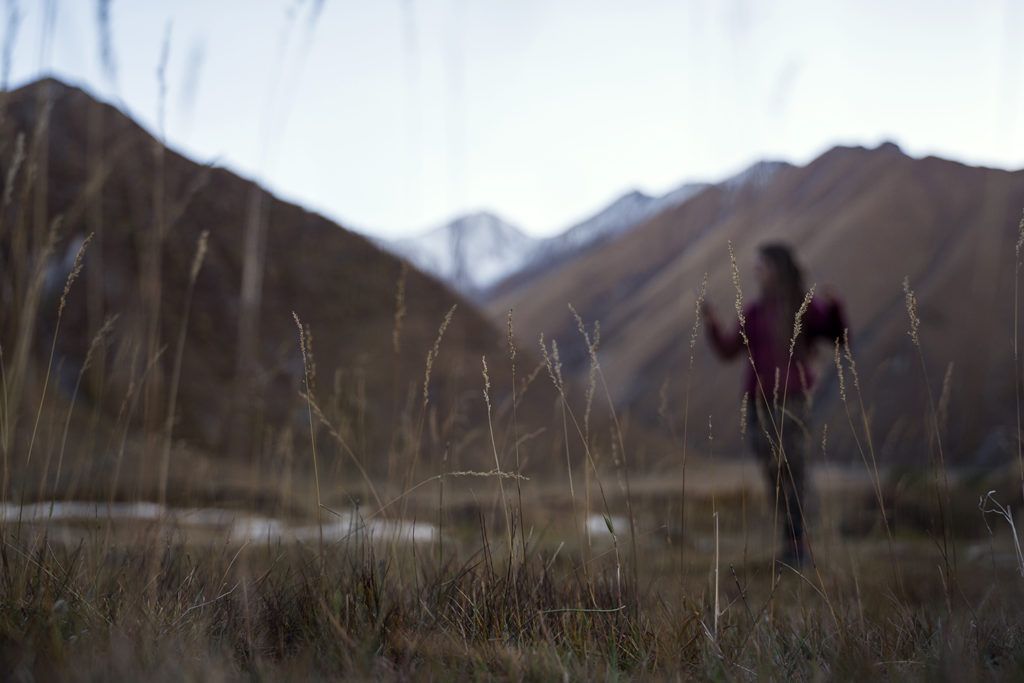
Luckily, there are a few tricks to fix this problem:
- take a test photo of yourself or
- use another person to stand in for you or
- place an object where you will be standing and focus on the object
After doing so, switch the focus to manual. This locks your focus and your camera won‘t try to autofocus every image.
Don‘t forget to remember or mark the exact position you were in!
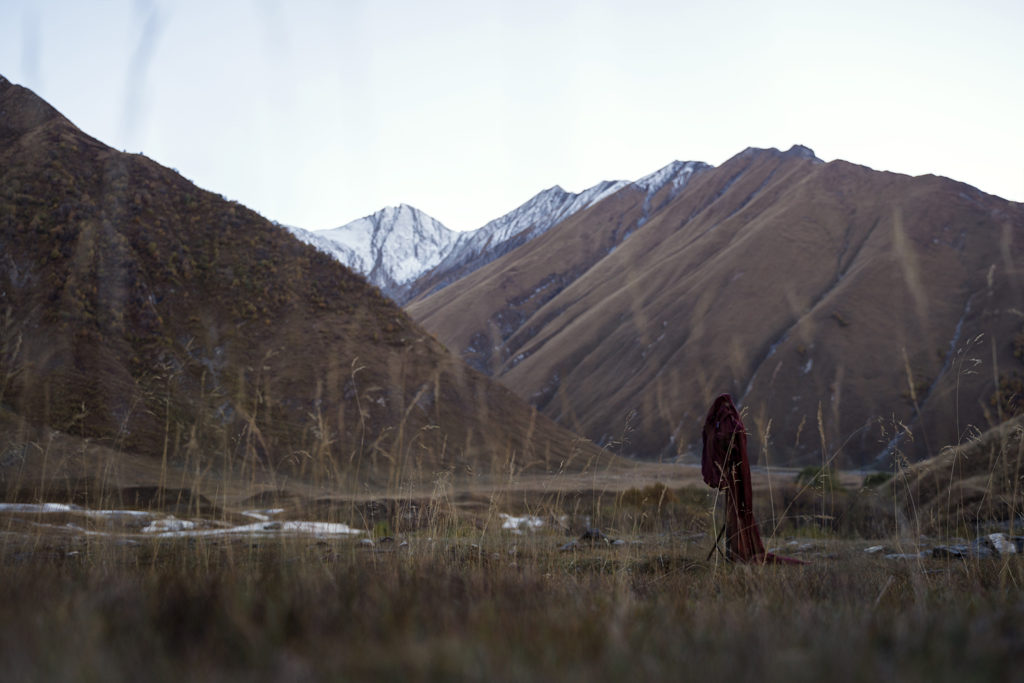
Now, if you go back to the exact position your test photo was shot, your following self-portraits should be equally in focus.
Important: For this to work, you will have to remain on the same ‚level‘ and not move away / closer to the camera. Especially if you are working with a low aperture, already small changes in your position can make a difference.
If you’d like more tips, read this extensive post on getting the focus right in self-portraits.
Master lighting for self-portraits
While I am a fan of natural light, there actually are no limitations to what is possible with self-portraits. Especially in the beginning, it can be fun to experiment with different lighting until you find ‚your thing‘.
In general, we distinguish two types of lighting in photography:
- natural light (no artificial light source)
- artificial light (intentionally created with additional light sources, e.g. in a studio)
„Available light“ refers to only working with your surroundings – that may include a mix of natural and artificial lighting, e.g. if you shoot in a city using the light of street lamps.
Tips for making your self-portraits look better:
1. Avoid direct sunlight
Yes, you can create amazing portraits in bright sunlight – but it is no easy feat. The sun at its highest point creates harsh shadows that can often look unfavorable when you don‘t quite know what you‘re doing (yet). As a beginner, you‘re better off creating in cloudy conditions or during golden hour.
2. Create contrast
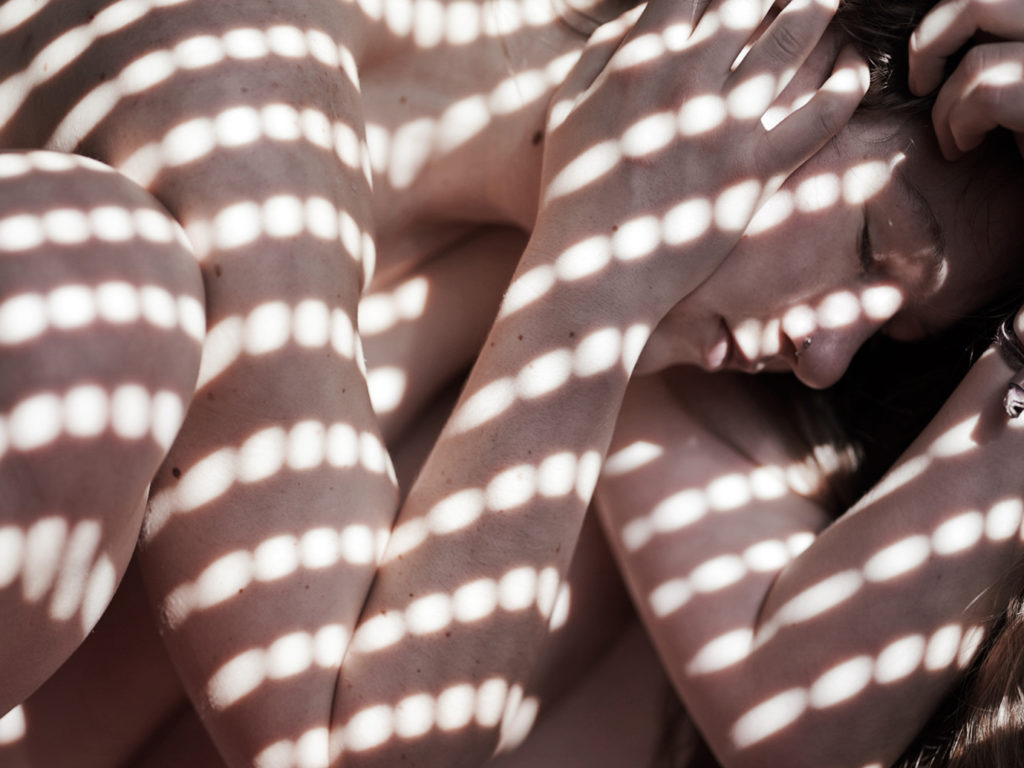
Light and shadow combined create intriguing contrast – look at how old masters like Caravaggio dramatically used lighting in their paintings. A little bit of sun shining through leaves or fabric can also create contrast that immediately adds an element of visual interest to the image.
3. Use window lighting
If you‘re taking pictures indoors, one of the best tips is to work with window light. It is a very natural-looking, soft light that can be very flattering. Place the camera close to the window, so the window light hits you either from the front or side. Without sufficient window (or artificial) light, interiors are often too dark to be suitable for portraits.
Self-Portrait Photography Poses That Look Great
As much as camera settings and lighting are important, posing can make or break an image. Body language – and facial expression – are a way of communicating and they can be used very intentionally in art.
Think about what it is that you want to communicate. Joy? Vulnerability? Confidence? This doesn‘t necessarily have to be planned, you can simply try different poses and angles in the process.
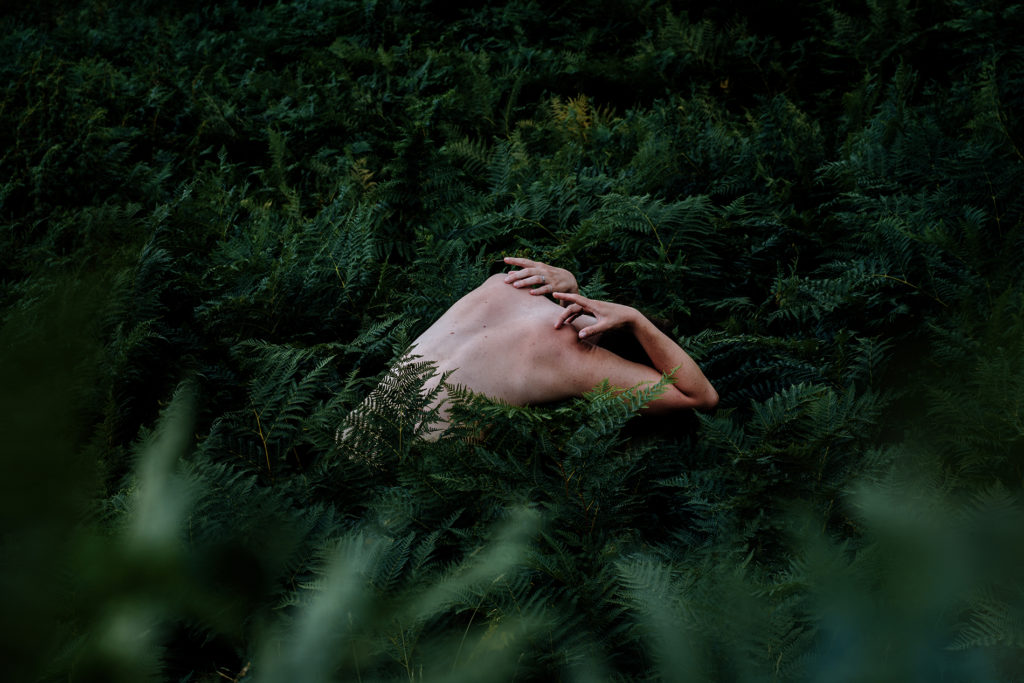
Top posing tips for self-portraits:
- experiment (and don‘t be afraid to get weird)
- get to know your more favorable angles
- interact with your surroundings
Remember, body language is a way to tell stories and express feelings – how you pose can completely alter the mood of an image!
Here are a few of my go-to-poses – feel free to try these if you struggle to come up with your own:
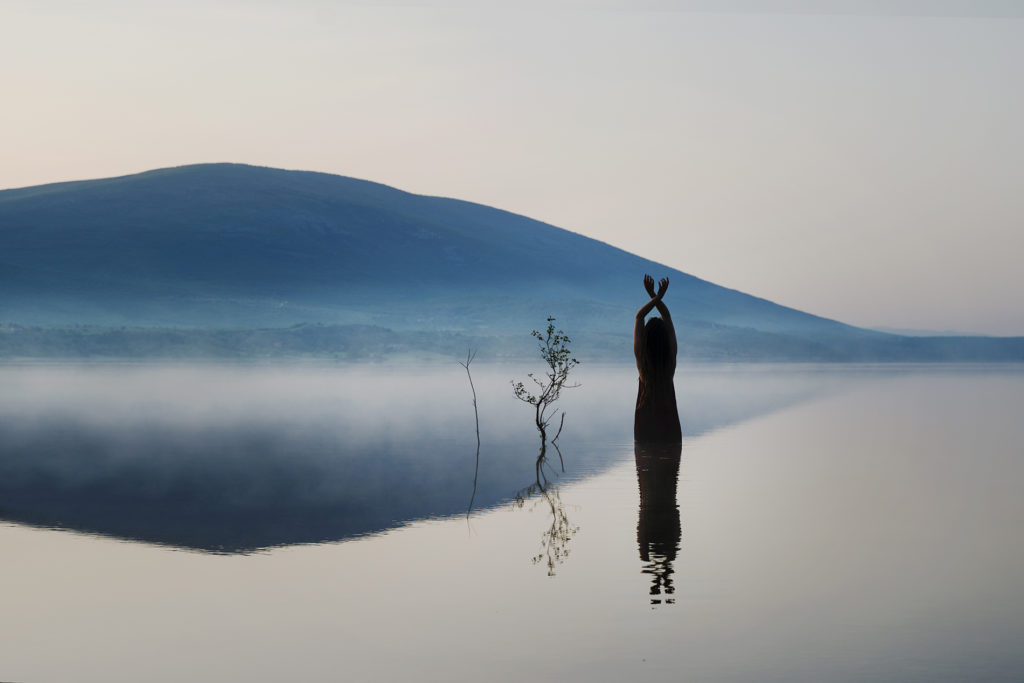
Lift your hands above head for some extra elegance
Sit peacefully to create a calm, contemplative atmosphere

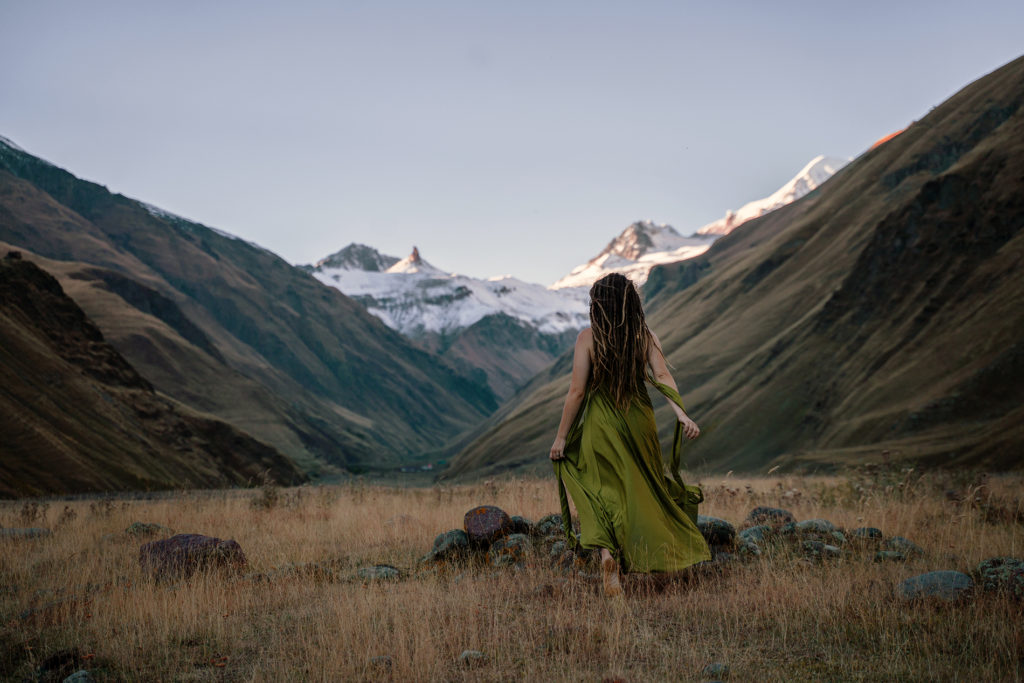
Run across meadows for adding some beautiful motion
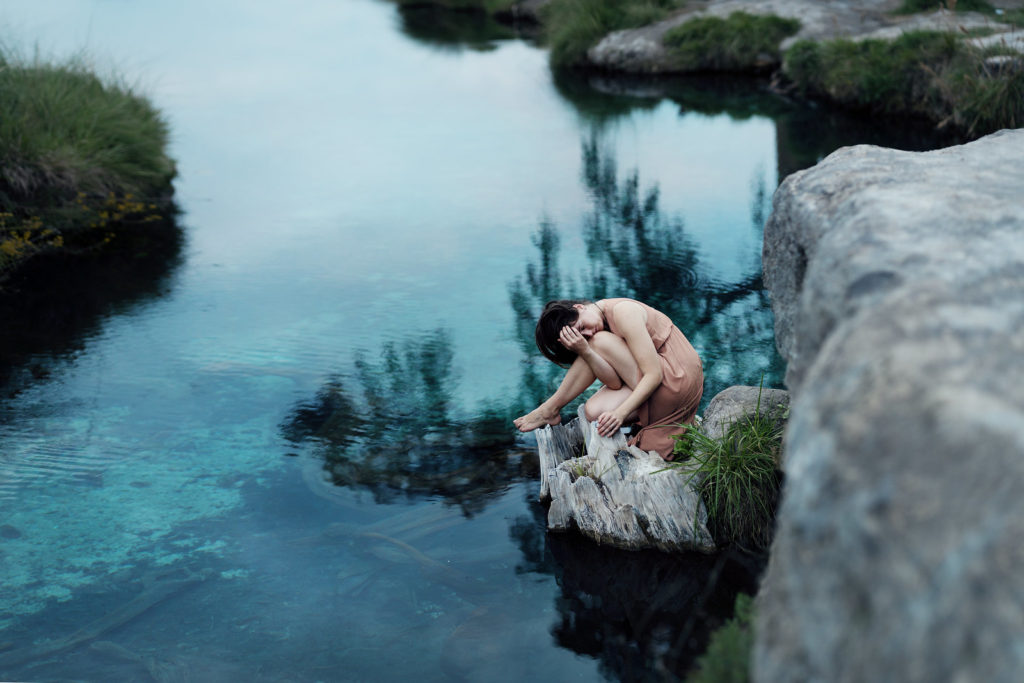
Make yourself small to express emotion
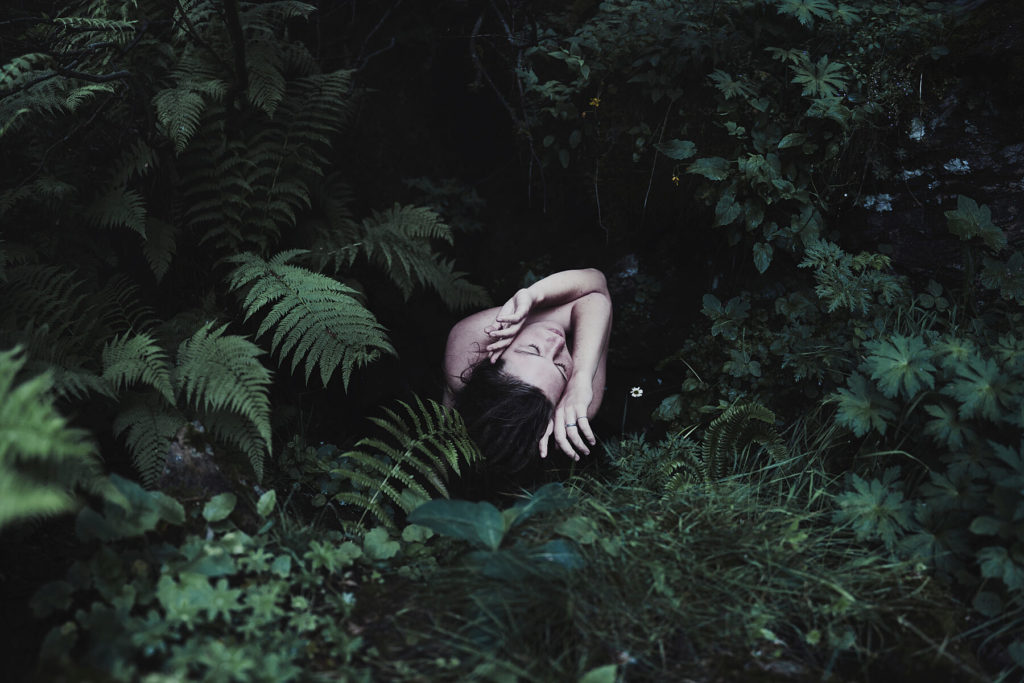
Embracing yourself adds tenderness
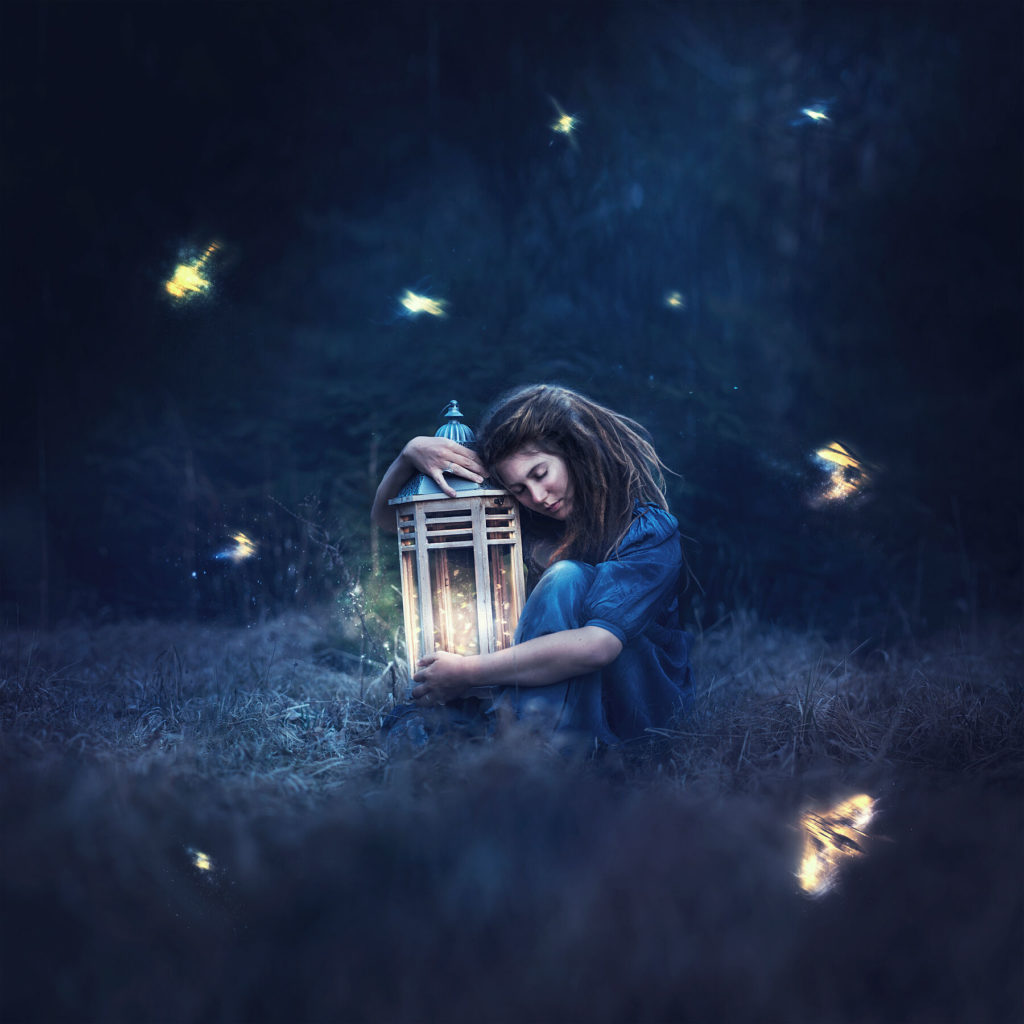
Interact with your surroundings or a prop to tell a story
10 Self-Portrait Tips to Remember
My top self-portrait tips in a nutshell? Here you go:
- Create regularly.
- Try new things, no matter how weird they seem.
- Tell your story, make it you.
- Learn from other photographers.
- Get inspired, but don‘t copy.
- Don‘t compare yourself.
- Make mistakes. A lot.
- Dare to express your feelings.
- Ask for constructive feedback.
- Be kind to yourself.
Best Self-Portrait Photographers for Inspiration
Are you looking for some more inspiring self-portrait photographers? I compiled a few of my personal favorites – many of these, I‘ve been following for well over a decade and they just keep creating incredible work.
It can also help a lot to analyze and observe other photographers’ work to learn from them and improve your own photography.
One important thing to remember: Get inspired, but do not copy! The most amazing artworks are those that are uniquely yours.
Enjoy browsing!
FAQ – Self-Portrait Photography
Ready to get started with self-portrait photography?
I hope this guide inspired you to embark on your self-portrait journey with confidence and curiosity. Any questions left unanswered? Leave a comment below!
Feel free to tag me on Instagram (@anna.heimkreiter) when you post your next self-portrait and I’ll do my best to provide feedback!

So much great and helpful information,
Thank you, Peter, glad you found this useful! 🙂
An excellent guide, Anna!
Thank you, Ioan, I appreciate you leaving a comment! Enjoy the self-portrait journey! 🙂
Thanks anna!!
You’re welcome, hope this was useful for you! 🙂
Wow, i cant wait to use this knowledge, thanks a bunch Anna
You’re welcome! Have fun creating! 🙂
Thank you, this was a helpful article, ’cause my final project’s theme is self portrait and I needed some inspiration. You are definitely One! Just keep doing what you do !