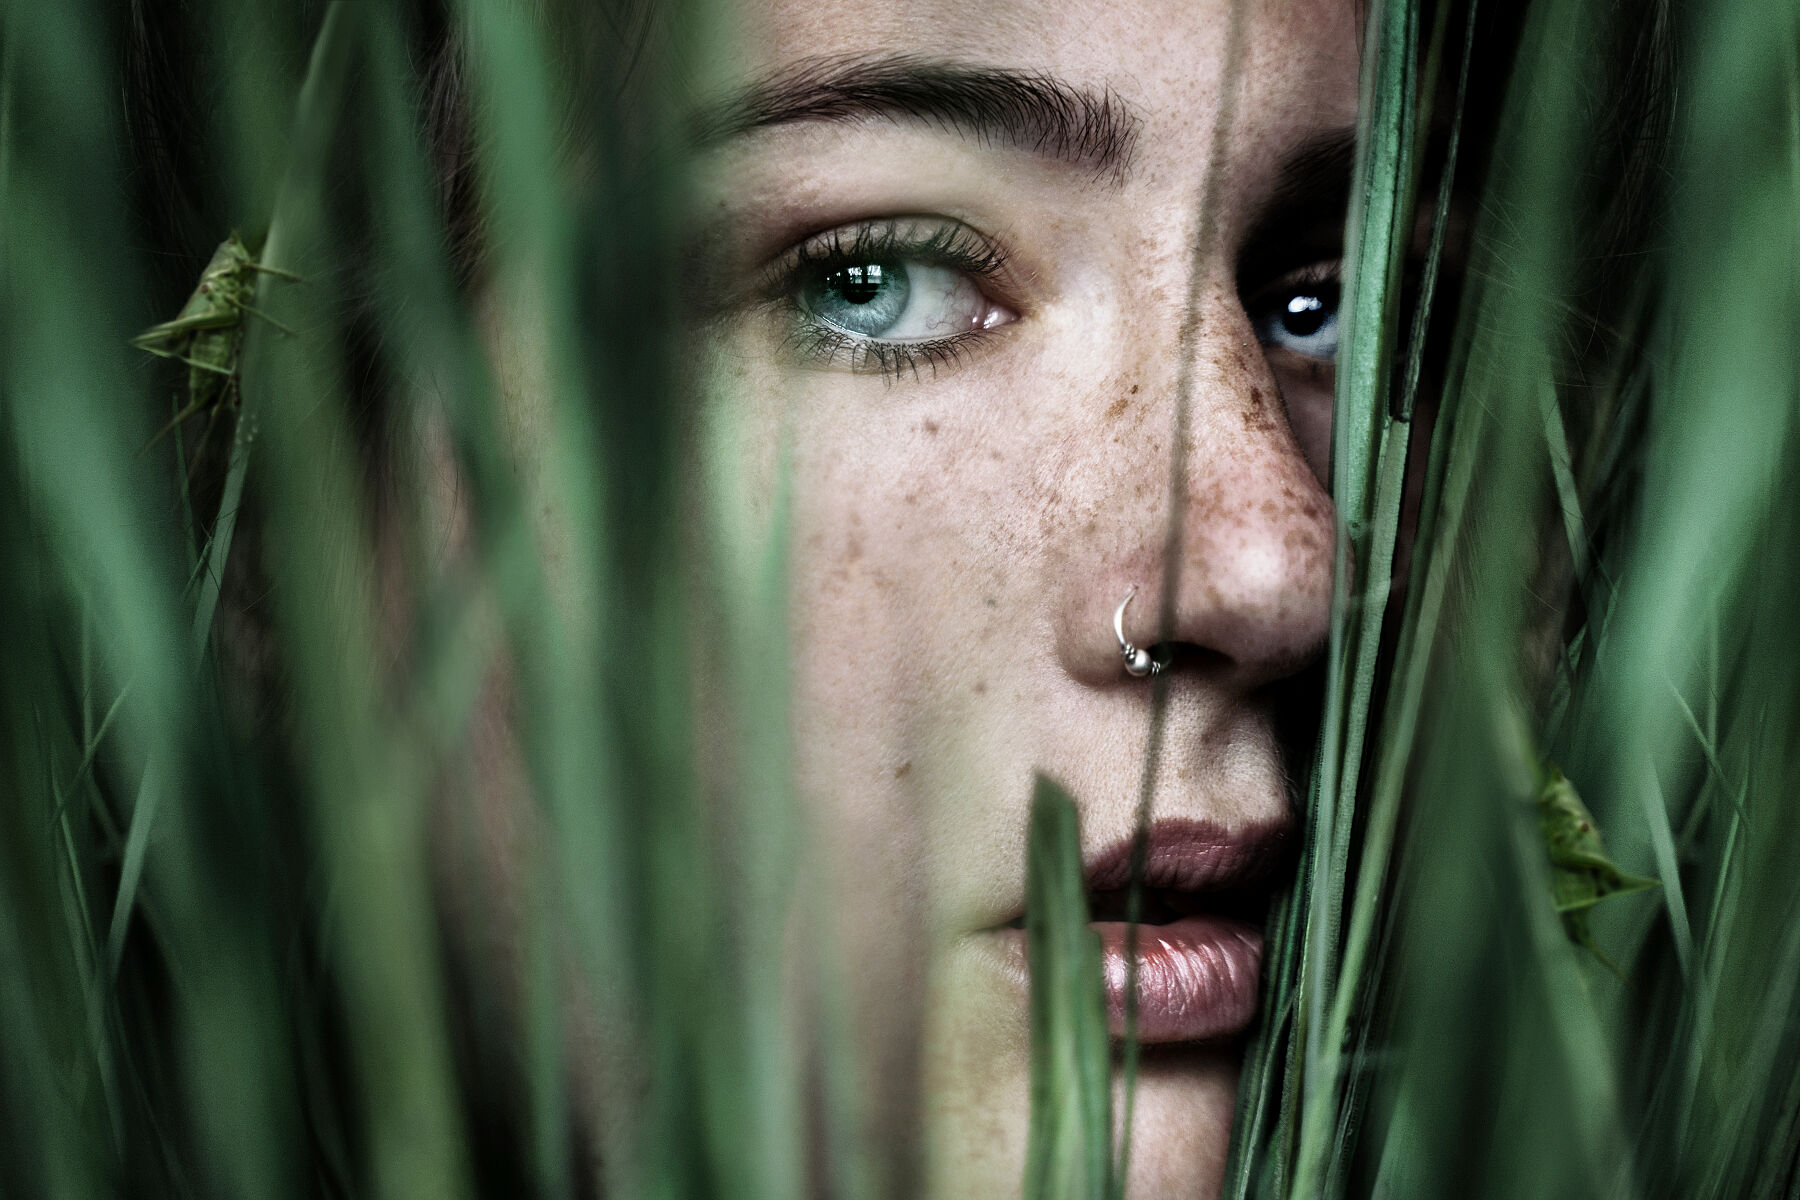
How to (Finally) Nail the Focus in Your Self-Portrait Photography
I’m sure this sounds familiar: You think you just shot a great self-portrait, only to realize that the focus is off, making the entire shot blurry. Help! Nothing is more frustrating.
Luckily, getting the focus right can be learned – and there are some tricks and tools that help you nail the focus in self-portrait photography.
Self-portraits allow you to tell stories and express yourself creatively in a way that’s personal and intimate. But to truly capture the essence of a moment, you need to ensure that the focus is spot-on. (Unless you‘re intentionally going for some artistic blurriness but I guess that‘s not why you‘re here.)
In this article, we’ll go over the basics of focus, the equipment and settings you need to consider, and the techniques you can use to get a perfectly sharp shot.
Let‘s get started and help you get those stunning self-portraits!
By the way: I have a huge resource covering the entirity of self portrait photography. You can find it here – feel free to bookmark it for later!
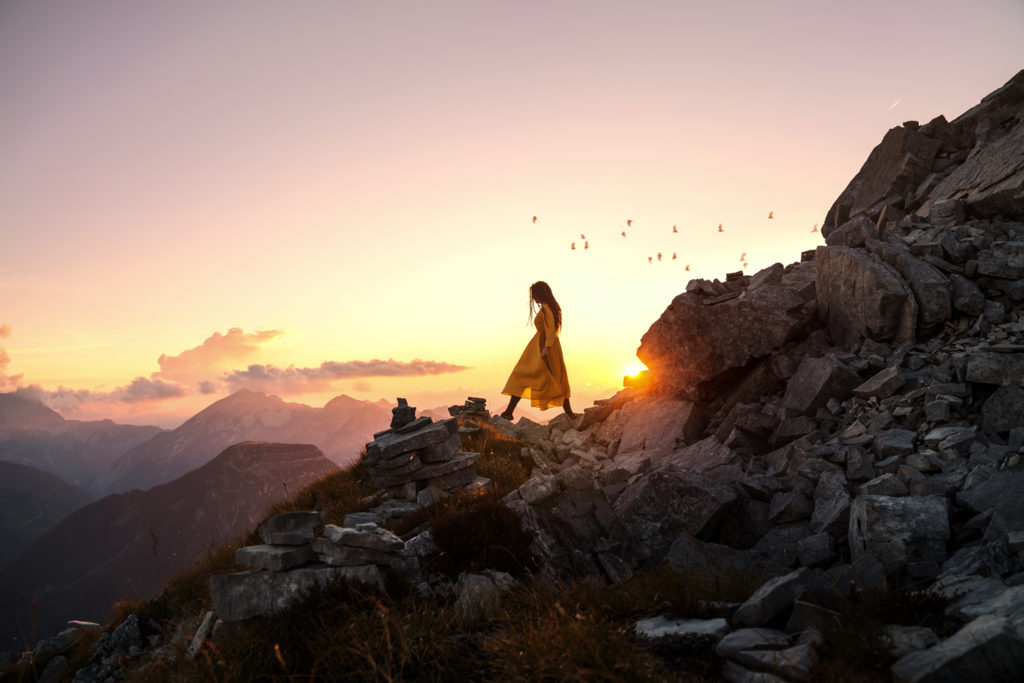
Why on earth is focusing self-portrait photographs so difficult?
Oh my, how much have I struggled over the years! And I must confess, I still take the occasional blurry self-portrait. So, what‘s the problem?
When taking a self-portrait, you are both the subject and the photographer, which can make it challenging to see if they’re in focus.
Other reasons why the focus in self-portraits fails:
- Limited control over the camera – When taking self-portraits, you need to control the camera remotely or set a timer which makes it harder to adjust the focus as the shot is taken.
- Depth of field – As beautiful as a shallow depth of field is, it can make it difficult to get the focus right. This is especially true when you are quite close to the camera – ever tried focusing on your eye in a close-up self-portrait? Oh-oh.
- Movement – When taking self-portraits at low shutter speeds, it can be challenging to remain completely still, which can cause the photo to be slightly out of focus.
- Distractions in the foreground – Often, little things like leaves or grass in the foreground can distract the camera‘s autofocus and make it focus not as you intended. (the one I struggle with the most)
- Sunlight – when the sun hits your lens directly, the autofocus might get a little confused as well.
But hey, I have good news! With a bit of practice and patience, it’s possible to achieve sharp and in-focus self-portraits that truly capture the essence of the moment.
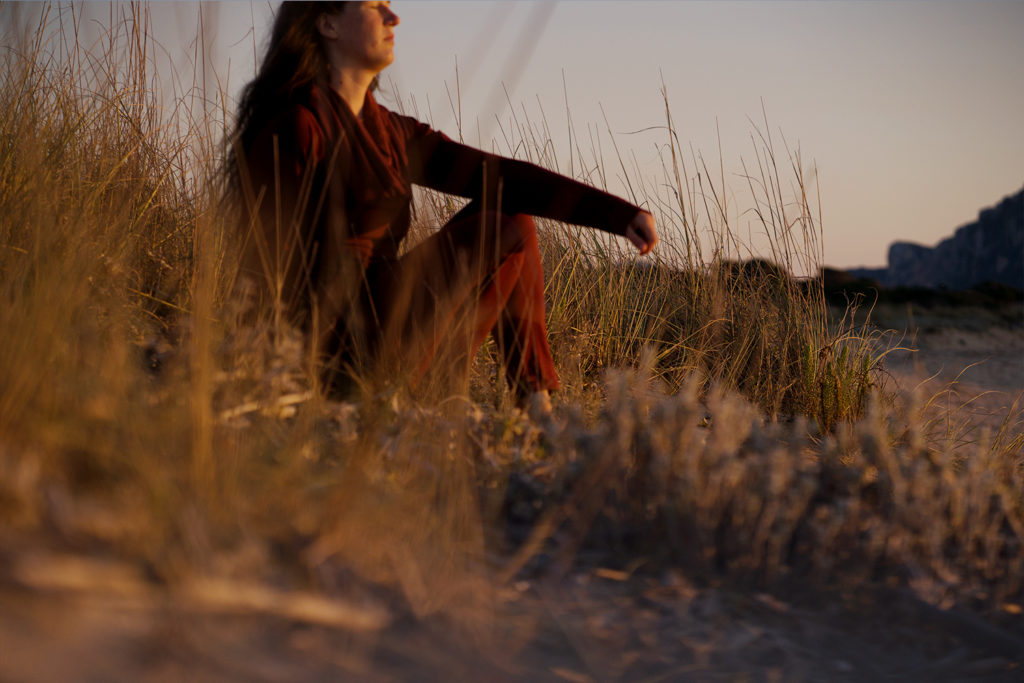
The basics: Understanding focus in photography
Focus refers to the sharpness and clarity of the subject in a photograph. When a photo is in focus, the subject appears clear and crisp, while out-of-focus elements appear blurry.
When taking (self) portraits, you usually want the focus to be on the person‘s face or eyes.
There are two types of focus:
- Manual focus: you carefully adjust the focus ring on your lens to achieve the desired focus
- Autofocus: uses the camera’s built-in technology to automatically adjust the focus for you.
Often, there is a tiny little switch on your lens or a built-in camera setting that allows you to switch between the two focusing modes.
Which equipment do you need to take sharp self-portraits?
The equipment and settings you use can have a significant impact on the focus of your self-portrait photography.
A wireless remote control helps a lot. You can simply place yourself in front of the camera and trigger the shot remotely, meaning the autofocus can do its job with you in the image. Guessing the focus from behind the camera is a lot more difficult.
Another useful little thing is a tripod, of course. If your self-portraits are shaky (because you are just holding the camera in front of your face, for example), a tripod helps you to stabilize the image and frees your hands.
While you can certainly take self-portraits with a smartphone, using a camera with interchangeable lenses can give you more control over the focus and depth of field. One option is investing in a camera with a flip-out screen, which can help you see yourself more easily while taking the shot. (A feature I loved in my previous camera, a Canon 60D!)
The camera I use now, a Sony Alpha 7iii, has the option to connect to my smartphone via the inbuilt WiFi. It allows me to use my phone as remote control and live preview. A total game-changer: this feature is what has most improved the focus accuracy in my self-portraits.
Seeing what the camera sees on your phone – and being able to check the results right away – saves you a lot of effort, time and frustration. No more running back and forth between the camera and your posing position!
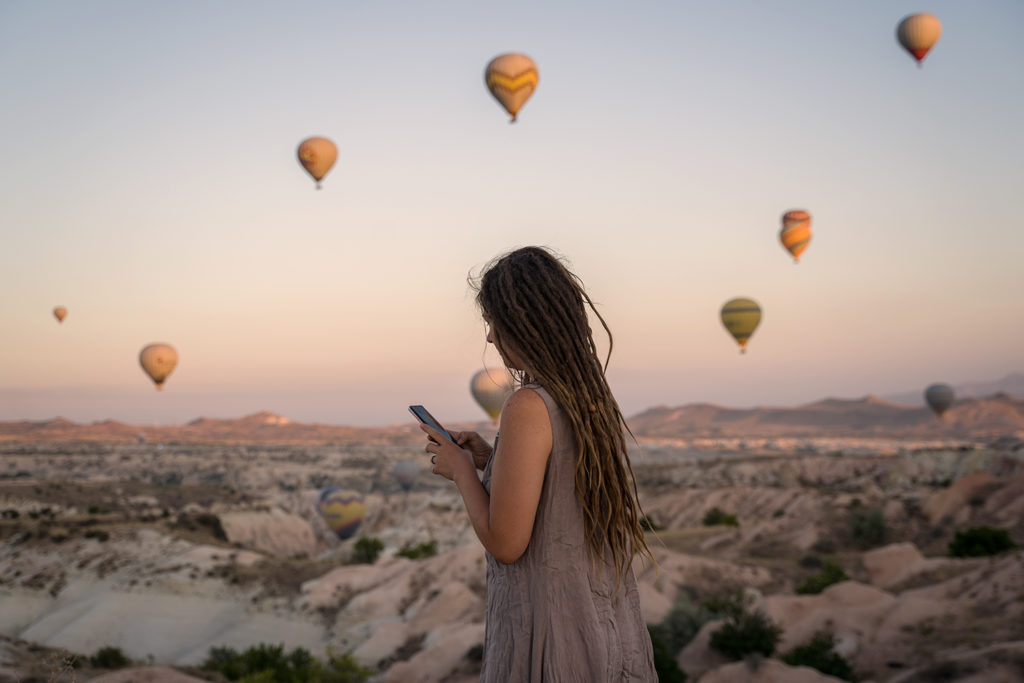
How do you get your camera to focus on self-timer?
This is super important: If you‘re using the self-timer to focus your self-portrait, make sure you are already in the frame as you release the shutter.
A remote control helps you to do so. Otherwise, you‘ll have to focus manually to the point where you will be standing.
My other favorite tool is using the interval timer for self-portraits. It automatically takes a row of photos, for example, one each second for a minute.
However, during that time, the focus is locked – so make sure you got it right before you switch to interval mode. Nobody wants 60 blurry photos in a row, right?
Which camera settings are best for getting the focus right for self-portraits?
There are no „perfect“ camera settings – they always depend a little on the individual situation. Yet, here are some tips to help you achieve sharp focus in your self-portraits:
Shutter speed – Use a fast shutter speed to „freeze“ any movement. A general rule of thumb is to use a shutter speed that’s at least equal to the focal length of your lens. For example, if you’re using a 50mm lens, use a shutter speed of at least 1/50th of a second.
Aperture – Use a wide aperture (low f-number) to create a shallow depth of field and make yourself stand out from the background. However, that requires some extra attention while focusing.
ISO – Use a low ISO to reduce noise and ensure a sharp, clear photo. However, be mindful of your environment and adjust the ISO accordingly if the lighting is low.
Focus mode – Choose the appropriate focus mode depending on your shooting situation. For example, if you’re taking a still self-portrait, use single autofocus mode. If you’re moving around while taking the photo, continuous autofocus can work better. There is also the option of setting manual focal points.
How exactly these settings work is different for each camera. I’m sure a quick Google search will help you out!
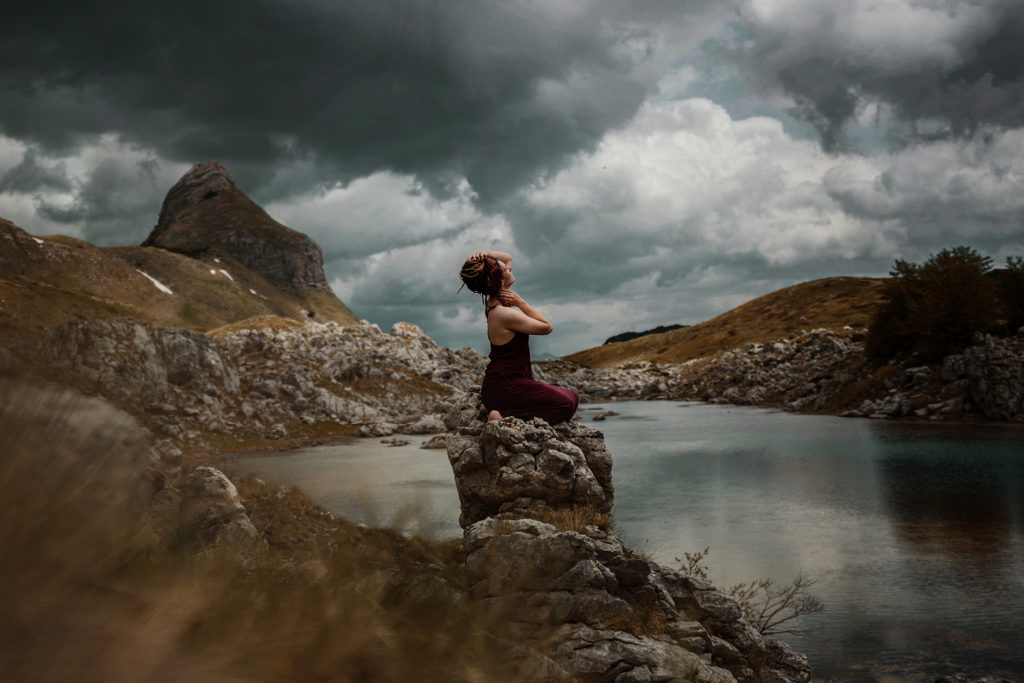
Can you manually focus self-portraits?
Actually, yes you can! But I recommend you use a stand-in to focus on.
Think of where you want to place yourself in the photo. Then, either ask another person to stand there or use an object (like a backpack or rock) to get the focus right.
Usually, I do that in autofocus mode as it works just fine in most situations. Once I got the focus right (zoom in to check in the photo taken), I lock the focus by switching to manual mode.
If you‘re already in manual mode, there‘s no need to lock the focus.
Now all you have to do is make sure to go back to precisely the same spot you focused on – even a single step forward or backward can make a difference.
How composition affects focus
Typically, your camera will try to place the focus in the center of the image. Personally, I do like the aesthetics of that but sometimes, you want to place yourself in a different spot.
Many people shoot by the rule of thirds – a composition technique that divides the frame into thirds horizontally and vertically, creating a grid with nine equal parts. Placing a person at the intersection points of these lines often results in appealing imagery.
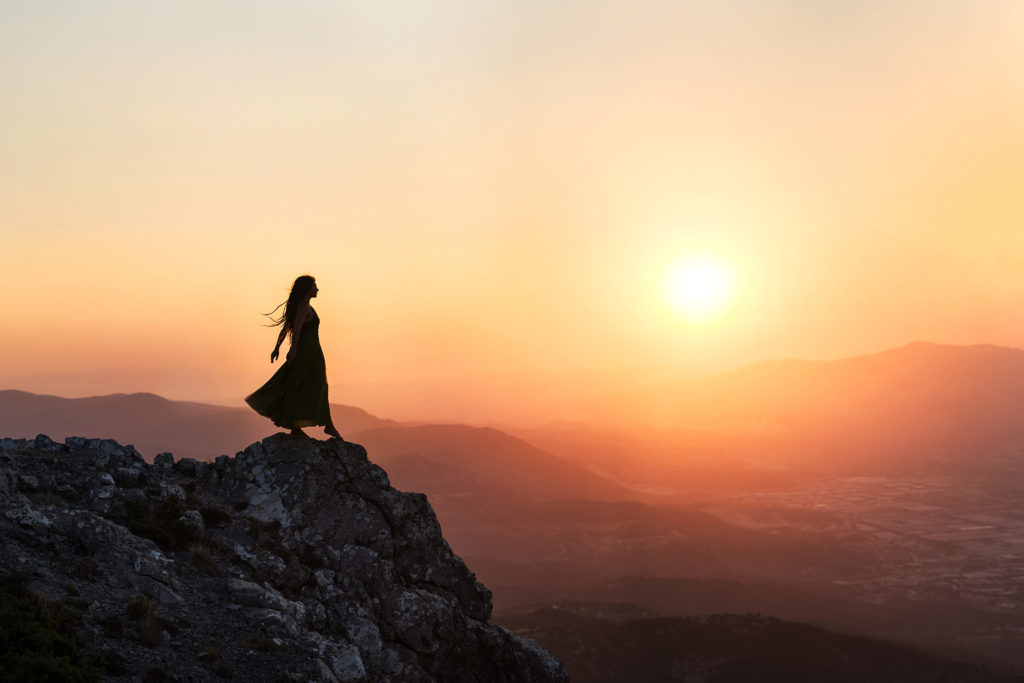
Depending on your camera settings, your camera might not recognize you as the main subject anymore.
Things you can try to fix focus problems:
- adjusting the focus mode to a different area
- setting manual focal points (if your camera allows to do so)
- moving your camera a little to the side so the subject is right in the center, then focus. When you got it right, lock the focus and move the camera back to your original composition.
What to do about “distractions” in the foreground that make it difficult to focus?
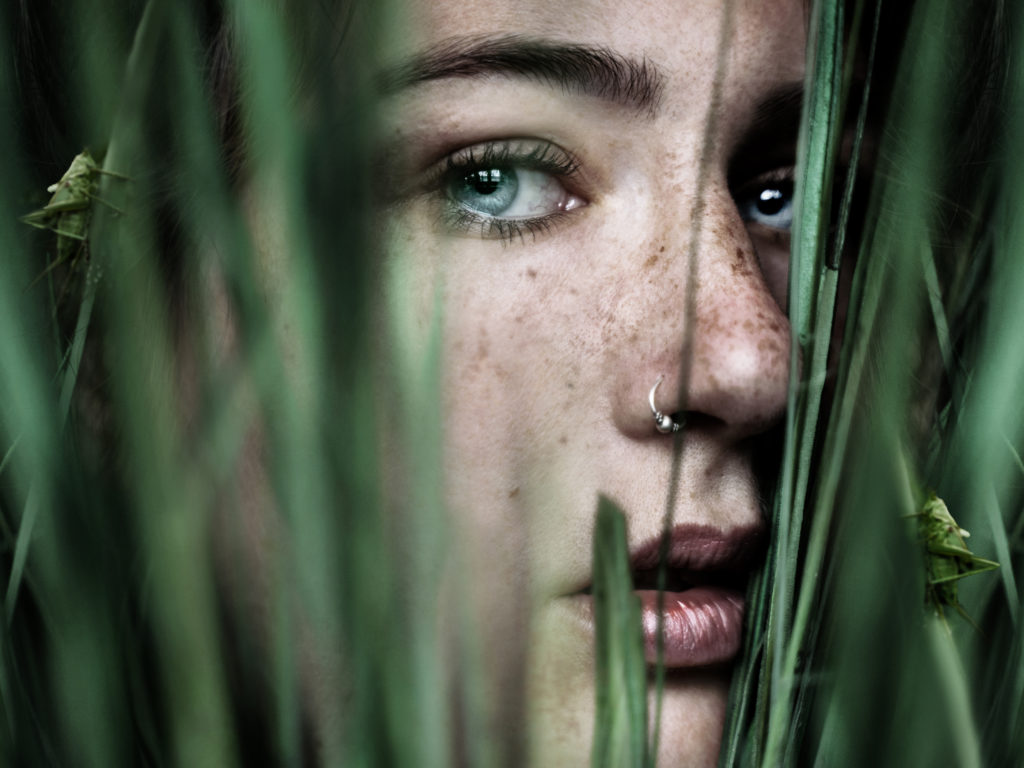
Since I struggle with that one a looot, this is getting its entire section. What do I mean by „distractions“? Well, I love a shallow depth of field, so having some grass, leaves, rocks, etc. in the foreground can create stunning visual effects.
However, these things can mess with the autofocus of your camera.
I‘ve found several ways of dealing with it. One is to focus manually but that can take a lot of time and patience.
When possible, I prefer to move the object to the side (with long prairie grass that works well) as I focus. When I got the focus right, I lock the focus and let the grass bounce back.
This way, you can get the beautiful blurry effects while still having a sharp focus right where it‘s supposed to be.
Top 5 tips to nail the focus in self-portrait photography
As we near the end, let me give you all that we just discussed in a summarized version „to go“.
Here are my top 5 tips for sharp self-portraits:
- use a remote control and tripod
- use an app to see what the camera sees
- pick a fast enough shutter speed and appropriate aperture
- focus correctly once and then lock the focus, or focus manually
- move distracting objects from the foreground while you focus
And if all fails… sometimes we just need an assistant. For some super complex self-portraits (or if the shot was a race against time), I have indeed asked other people to press the shutter for me. To me, if you did all the composition and settings, it still counts as a self-portrait.
As much as getting the focus right can be a source of frustration, it is also part of why a great self-portrait is even more impressive.
Remember, practice makes perfect. Don’t be afraid to experiment with different techniques and settings to find what works best for you. Be patient and persistent in your pursuit of the perfect self-portrait, and you’ll be amazed at the results you can achieve.
In the end, self-portrait photography is all about exploration. Enjoy the process!


