Avoid These Beginner Self Portrait Photography Mistakes
As my 10-year anniversary of taking self portraits approaches, I thought it would be fun to look back to my earliest works – and share a couple of beginner self-portrait photography mistakes that we can all learn from.
Going back in your artistic journey can be painfully embarrassing, but I think it’s actually beautiful to witness how far you’ve come.
Even the best photographer started somewhere. Their now mind-blowingly beautiful photographs probably once looked a lot like your beginner photos. I know because I’ve been there and made all the photography mistakes possible.
It’s quite comforting to know that everyone shares this journey and a similar learning curve.
So let’s dive into my treasure chest of early self-portraits and see what we can learn from them so that you can take beautiful self-portraits, too.
Beginner photography mistakes I wish I never made
So here we go, welcome to my walk of shame 😉
Mistake #1 – Using the completely wrong lighting and setup
Okay, I’m not sure whether to be embarrassed about this one or just laugh, but here we go.
When I just learned how to make objects fly in Photoshop, I once had this conceptual self portrait in mind of myself being surrounded by little planes.
My dad had this perfect wooden plane at home – but my first execution was simply terrible.
As you can see, the lighting is all wrong, that blanket is a terrible choice, the location (a balcony corner?) is simply weird.
It just did not work out.
But then I re-shot the photograph on another day. In another location. Different outfit, better light, better pose. The natural light also really helped to edit the airplanes in more easily.
And suddenly everything came nicely together.
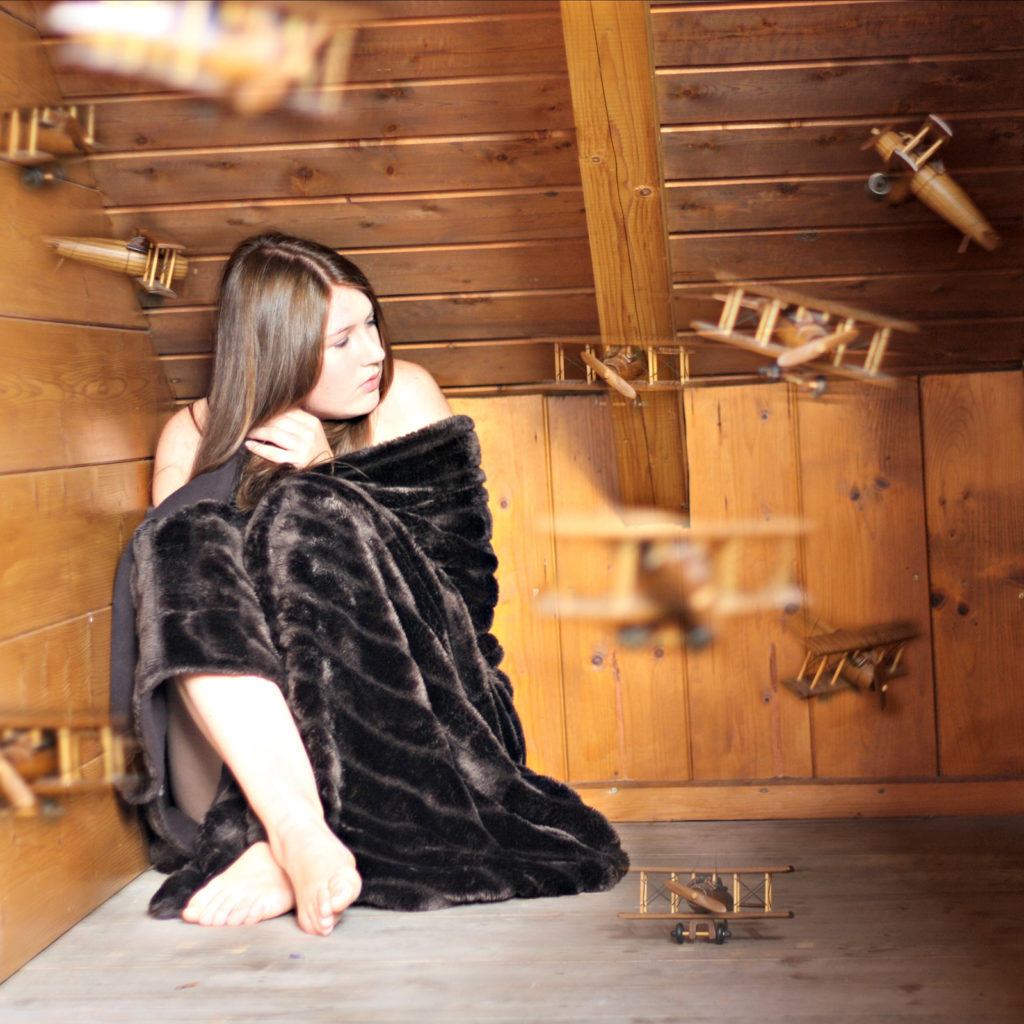

It really shows how sometimes you need to experiment with your setup – don’t give up the first try because things didn’t work out the first time.
Look at landscape photographers. They go back to the same location again and again and stay for hours just to catch that one perfect moment of light.
A good idea, when terribly executed, does not work. So don’t be afraid to fail and try again.
That’s how you learn the most.
Mistake #2 – Copying other photographers
Okay, so the next embarrassing moment in history actually wasn’t related to a self portrait, but it is still important to mention.
When we start out, we might be looking up to others for inspiration. Perfectly normal, perfectly fine.
However, what I see happening over and over again is that people blatantly copy someone else’s self portrait photography.
And, I must confess, I am guilty of this as well.
Once I saw this nice arrangement of little flowers and snails and I wanted to create my own version of it. But, without really intending to, my image ended up being very much a copy instead of a remix.
I still uploaded the image but mistake #1: I did not credit the girl who had inspired me. And worse again, when she called me out on it, I tried to hide it and make excuses. Big mistake #2.
Not my proudest moment. But believe me, the guilt taught me the lesson I needed to hear as an emerging photographer.
Later on, I also experienced other people copying my work – and it simply doesn’t feel nice to have your idea taken away and shown off as if it was theirs.
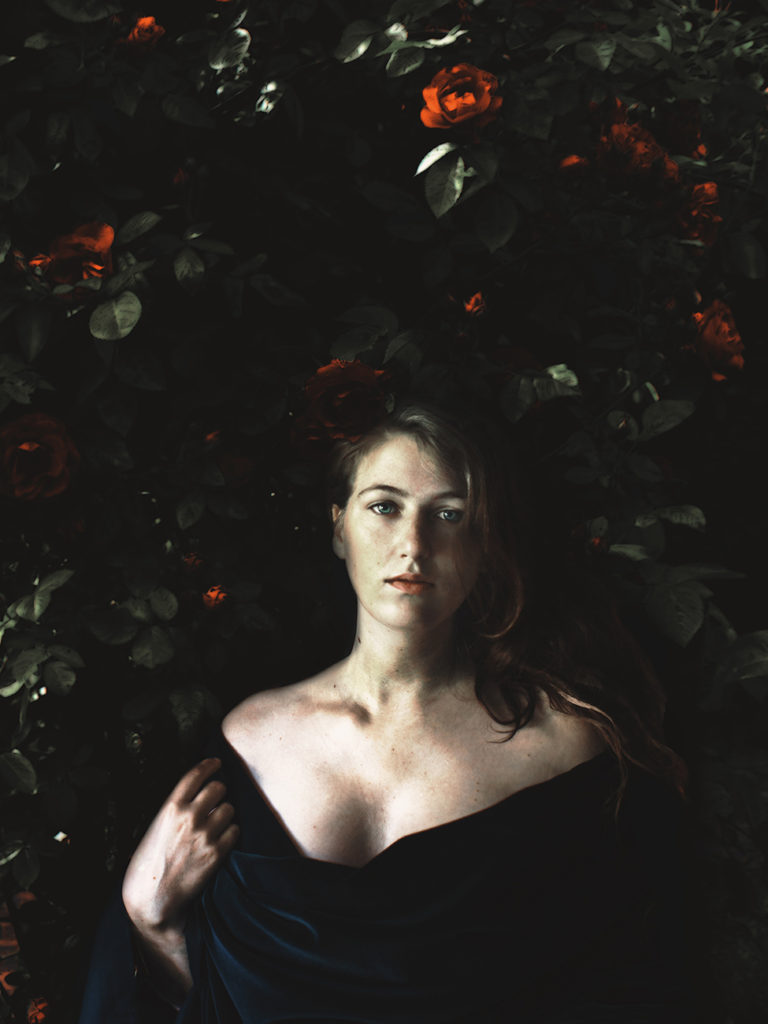
So where do you draw the line? Inspiration is okay, copying is not.
Make it your own. If you blatantly copy something, it will never be as good as what you’re trying to re-create – because your own creativity is missing.
All creative expression from art to music has always been somewhat a constant reinvention of already present things.
But the important thing is to find your unique voice. And give credit where it’s due.
Mistake #3 – Not having a clue about the technology I was using
When you first start taking self portraits, your equipment might be a giant mystery to you. Most people even first need to understand how it is possible to take photos of yourself that are not just a selfie on your phone.
Self-timers, camera settings, tripods, remotes, … It is a new world.
My first self portraits were terribly out of focus. Like, 95% of them.
The reason was that I did not even know remotes existed. I did not even have a tripod at first.
So I placed my camera on window sills or tree stumps or tried to hold them as far away as I could with my hand.
I ran back and forth a million times, trying to get it right, but actually had no clue how to do it.
But you know, I am grateful for that process. You can only create good stuff by knowing what doesn’t work.
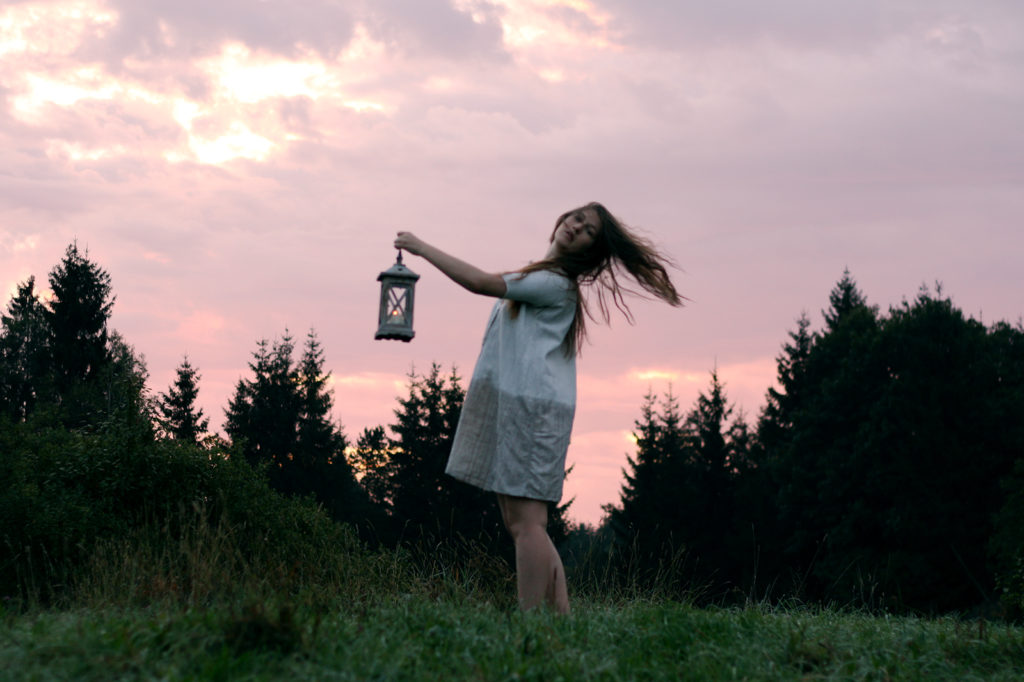
So the first game-changer in my journey of self portrait photography was definitely getting a remote.
And learning about my camera settings, how to get the focus right and how to edit.
It’s all a process, but little by little you will learn and improve your self portraits.
Mistake #4 – My self portrait poses were terrible
Just like any awkward teenager in front of a camera, I had no idea how to pose. My poses were mostly terribly weird.
Actually, let me correct that, my poses are still often weird. Now I just like to think of them as aesthetically weird, haha.
When I first started taking self portraits, my favorite ‘posing technique’ was simply doing a million hair-flips until some photo came out half-decent… or not.

When you start taking self portraits, you first need to get to know yourself in front of a camera.
You need to learn to have the courage to express yourself through your body language and facial expressions.
Personally, I was also really struggling to accept the way I look in photographs. I felt like the camera revealed a lot of flaws while all I wanted was to look like those picture-perfect girls.
(I wrote a personal blog post about how self portrait photography helped me to find more self-confidence and self-love eventually, you can read it here.)
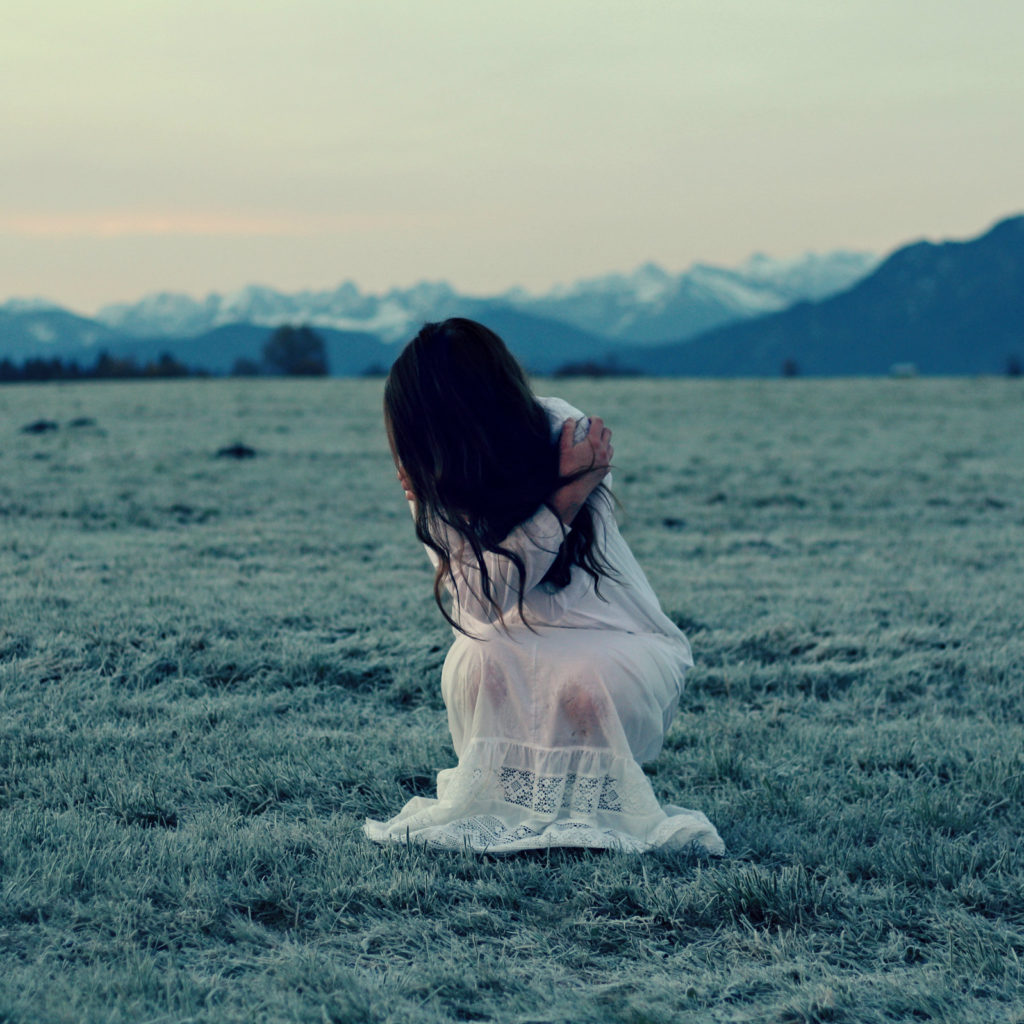
The good thing is, after a while, you learn which self portrait poses work and which ones don’t.
Nevertheless, I’d still like to encourage you to keep experimenting because a lot of unexpected good things can come from that.
Having a signature pose is nice, but keeping up the creativity and trying new poses is even better. It is all about expressing what you feel in the moment.
So let’s dare to be awkward, shall we?
I’m regularly sharing photography tips and stories from my travels and life – subscribe here to not miss a thing!
Mistake #5 – Destroying my photos with terrible editing
At the beginning of my photo-editing journey, the phrase ‘non-destructive editing’ was non-existent.
My first edits were made in terrible online editing tools. I am pretty sure that nowadays, any smartphone app will do a better job.
It takes some time to develop a feeling for colors, contrast and an eye for the little details.
I wish someone would have told me those things:
Never overwrite the original file with your edit
A lot of time, I simply saved my edited photograph and got rid of the original. Never, ever do that. I can’t count the times where I realized some time later that I destroyed a good photo with a terrible edit. And once the original is gone, you can’t take it back.
Never work on only one layer
This is the key principle to non-destructive editing. When you’re working in editing software like Photoshop, make use of layers – and don’t merge too many of them into one. Like this, you can undo or alter any single step without having to start from zero again.
Never ignore the details
I highly recommend zooming into the picture for editing details, especially if you’re working on a small screen. Otherwise, you might print the image one day or see it on a bigger screen and realize it’s full of editing mistakes you have missed while working from afar.
To give you an example, here’s an image where I committed all three of these beginner editing mistakes. Not a self-portrait, but it demonstrates the point.
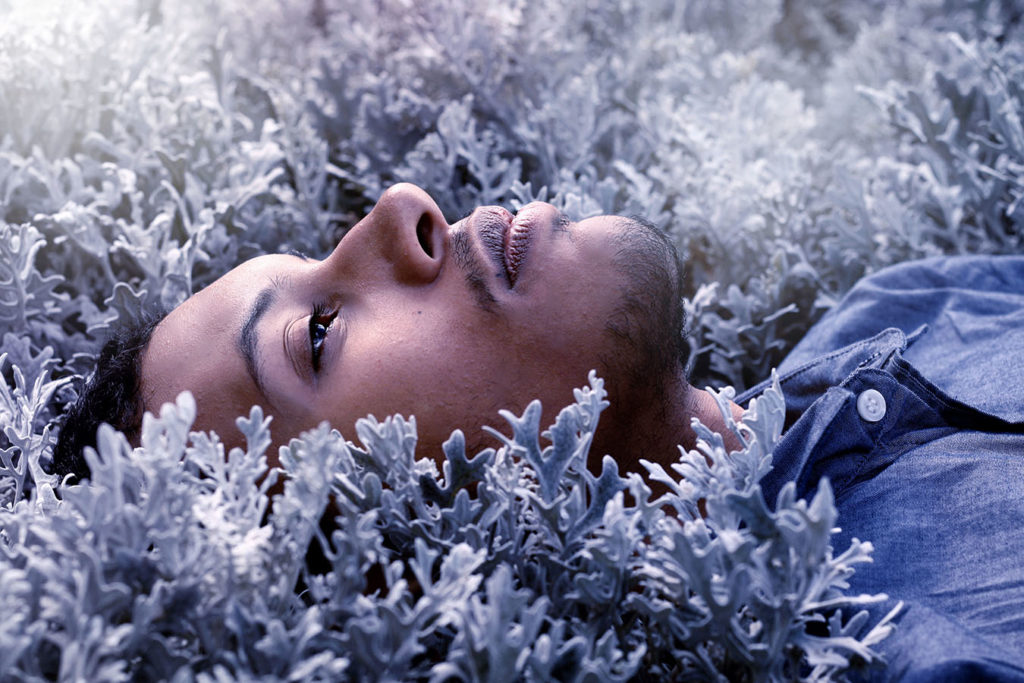
I actually really like the portrait and the color edit as well. Unfortunately, the skin is edited terribly, which especially becomes obvious when you zoom into the photo. In some areas, it simply loses the texture because I just smudged over it to ‘fix’ blemishes.
Even more unfortunately, I did not save the PSD file nor the original image and hence can not fix it anymore. Something like this could never be sold as prints or used for high-resolution publications.
Sigh. Please be smarter than me.
The good thing about making beginner photography mistakes
You figure out what you’re doing
We need to make mistakes to figure out what works and what we need to pay attention to.
In the beginning, your first job will be to figure out which camera settings work for what kind of situation.
Then, you will take your first steps in editing and probably make an awful lot of mistakes there, too.
Maybe you also want to take self portraits and will take some time to learn what it takes to get them in focus and as expressive as you want them to be.
With every mistake you make, you will learn something.
So don’t fret, it’s all part of the process. You are learning the craft of photography and it’s a beautiful journey.
You develop your personal photography style
The more mistakes you make, the more you learn. And the more you learn about what works for you, you develop your very unique style.
Your photography style is a combination of your unique ideas, execution and editing style.
It takes some time to develop your personal taste and to execute the visions you have in mind. But after a while, something recognizable, something that is very ‘YOU’ will start appearing in your photos.
Throughout all your photography journey, your style will continue developing. Maybe only in nuances, maybe radically.
But as long as you will shoot, you will learn and grow as a photographer.
You dare to experiment
A lot of times, as we already develop our signature style we lose a little bit of our initial creativity. Caught in our own expectations of quality and style, we stop to wildly experiment.
Which is a shame! Experimenting with your weirdest ideas is such an important part of growing as an artist.
A lot of genius photos are lucky accidents, whether in shooting or editing. They happen when you dare to experiment outside of your comfort zone.
Try to keep that beginner’s mind and never be shy to pursue your wildest ideas.
From beginner photography mistakes to pretty damn good
Give yourself time to grow. Your beginner self portrait mistakes are the foundation of your skills.
If you’re still feeling bad about your self portraits – please don’t.
Any artistic expression is valid and valuable, and even if they don’t look as you want them to (yet), you will get there.
The important part is creating.
If you’re thinking ‘yeah you showed us your “bad” photos but they aren’t bad at all, mine suck’ – don’t worry, I definitely haven’t shown you all.
There are photos I’m still so embarrassed about that they will never see the daylight and a lot of them have simply been deleted.
But I always love seeing when people, say on Instagram, don’t perfectly curate their feeds as they grow and they leave their very first photos up – no matter how unskilled they are compared to now.
Remember, we all start somewhere.
And if you follow the tips above, you’re already guaranteed to make a lot fewer beginner mistakes than I have 😉
Feel free to share your personal self portrait photography tips for beginners below so we can all learn and grow!
Learn to take better self-portraits
Have you come across my complete guide to self-portrait photography yet? It pretty much answers any question you could possibly have about the art of self-portraiture – don’t miss out on this fantastic resource!

